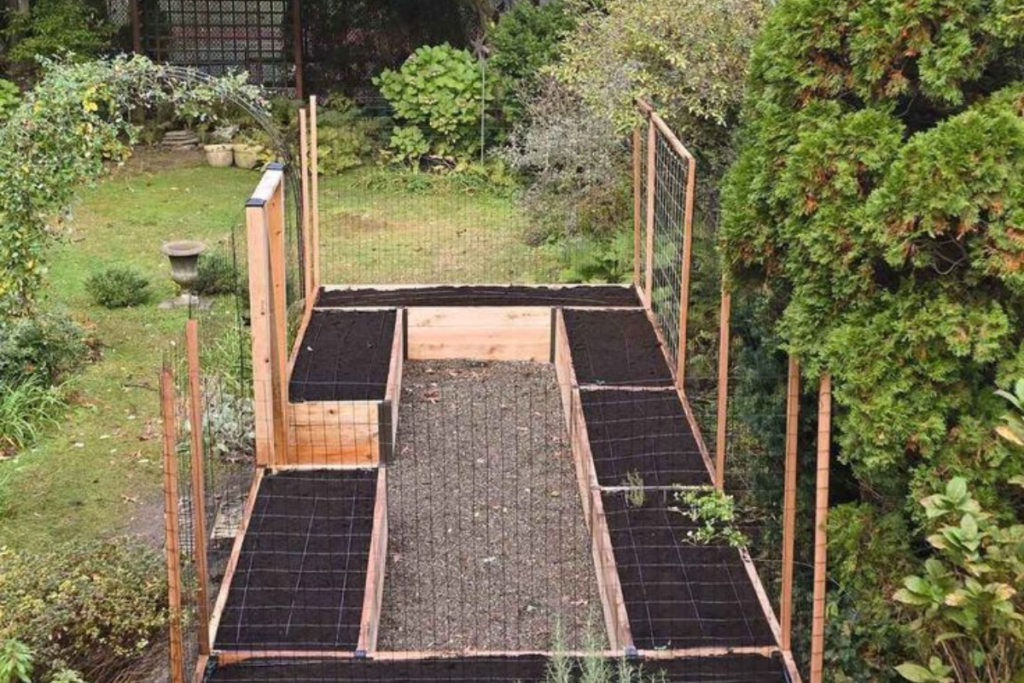
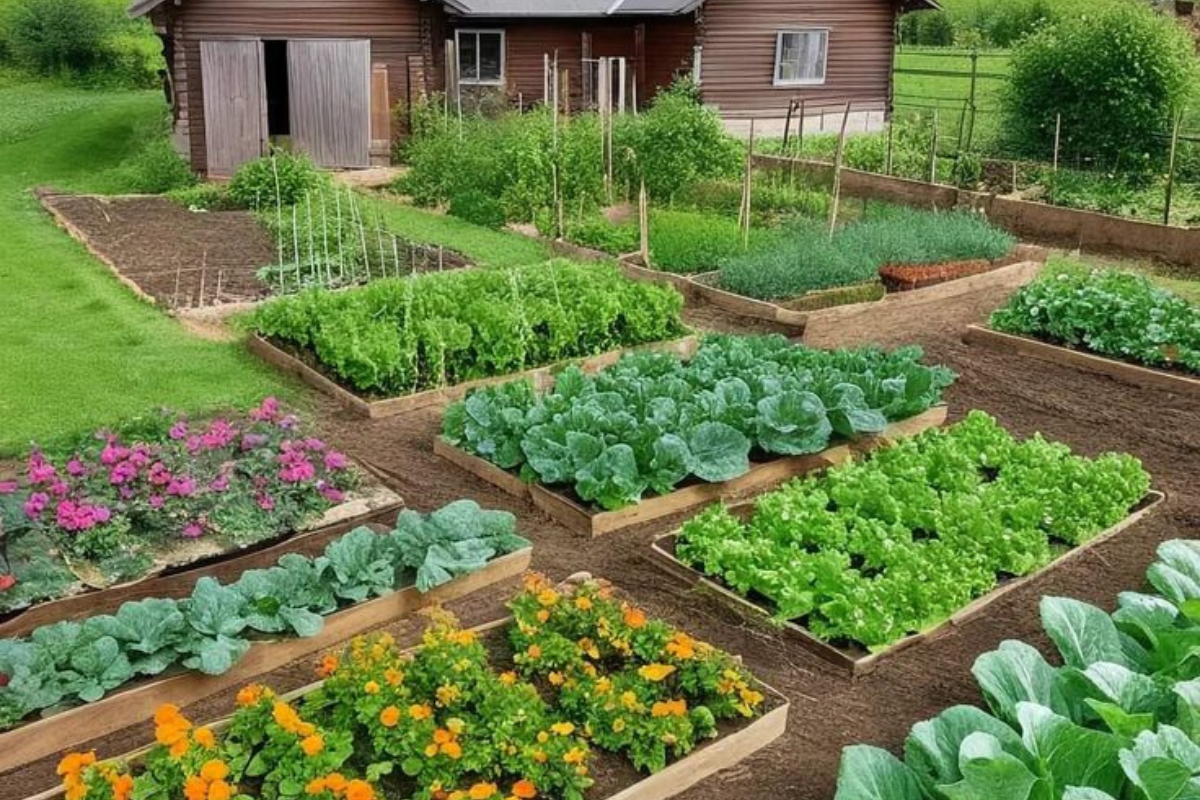
Filling deep raised garden beds can seem daunting, especially when it comes to the cost and effort. However, with a few smart, budget-friendly strategies, you can easily prepare your raised bed for planting while maximizing both yield and soil quality. This approach, known as « layering, » not only saves money but also creates a fertile growing environment. Here’s how to do it.
Understanding the Benefits of Deep Raised Beds
Raised beds are typically 12-36 inches deep and are an excellent choice for gardeners seeking improved soil drainage, easier access for maintenance, and better root development. They are particularly beneficial in areas with poor native soil or limited space. The increased depth allows plants to thrive with healthier roots and higher yields, making it a great option for both vegetables and flowers.
Step 1: Plan Your Raised Bed

Before you begin, decide on the dimensions of your raised bed. Aim for a depth of at least 24 inches to accommodate deep-rooted plants. Choose a location with at least six hours of sunlight per day. For the bed’s walls, you can use untreated wood, bricks, or cinder blocks—materials that are durable and affordable.
Step 2: Layering for Cost Efficiency and Soil Health
The key to filling a deep raised bed without overspending is to use organic materials that will decompose over time. This method, known as « lasagna gardening, » involves creating several layers of different materials, each serving a unique purpose.
- Bottom Layer: Drainage
- Use materials like rocks, gravel, or broken pottery to create a solid drainage foundation. This layer will help water flow through the bed, preventing root rot and waterlogging.
- Middle Layers: Bulk Materials
- Use items like logs, branches, straw, leaves, grass clippings, and wood chips. Many of these materials can be sourced for free or at a low cost. Begin with larger materials such as logs and branches at the bottom, then layer smaller materials like leaves and grass on top. Over time, these materials will decompose, enriching the soil.
- Compost Layer
- Add a layer of compost to introduce valuable nutrients and microorganisms into the soil. If you don’t have compost, consider creating your own by recycling kitchen scraps and garden waste.
- Top Layer: Growing Medium
- Finally, top the bed with a mix of high-quality topsoil and compost. This is the primary growing medium for your plants, providing essential nutrients. Make sure this layer is at least 6-8 inches deep to allow for healthy root growth.
Step 3: Planting
Select plants that thrive in deep raised beds, such as deep-rooted vegetables like tomatoes, carrots, and potatoes. Follow planting instructions for each variety, ensuring proper spacing and depth for seeds or seedlings.
Step 4: Maintenance
Maintaining a deep raised bed requires regular attention to watering and mulching. Since deep beds can dry out faster, be sure to water deeply, especially during dry periods. Apply a layer of mulch to retain moisture, reduce weeds, and keep the soil temperature stable.
Cost-Saving Tips
- Source Local Materials: Look for free organic materials in your community, such as tree trimmings, leaves, and grass clippings.
- Community Resources: Many local municipalities offer free compost or mulch for residents.
- DIY Composting: Create your own compost by recycling kitchen scraps and garden waste, reducing waste while enriching your garden.
By following these steps, you can fill your deep raised bed with affordable, organic materials, creating a fertile environment for your plants. Not only will you save money, but you’ll also contribute to a more sustainable gardening practice by recycling natural resources. Happy gardening
