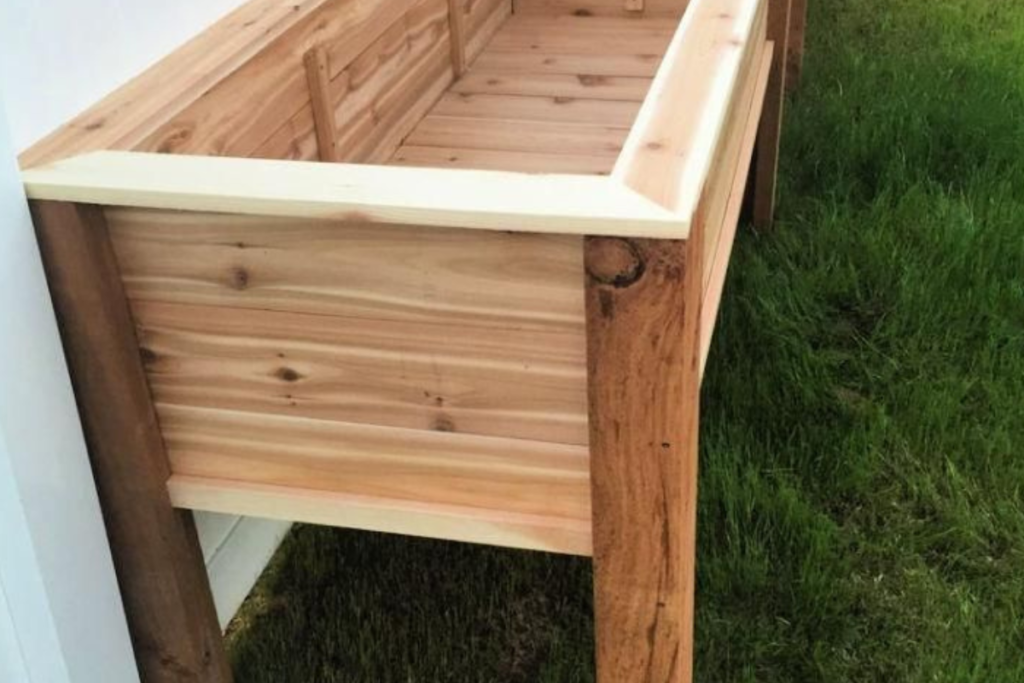
Wattle weaving, a traditional method used for centuries, combines practicality with charm by intertwining flexible branches or twigs to create durable and visually appealing structures. A wattle-raised garden bed is not only sustainable but also adds rustic elegance to your backyard. Here’s how you can build your own wattle-raised garden bed step by step.
Materials You’ll Need
- Flexible branches or twigs (Willow and hazel are ideal for their flexibility and strength)
- Sturdy stakes (approximately 2 feet longer than your desired bed height)
- Hammer or mallet
- Pruning shears
- Garden gloves
- Measuring tape
- Soil and compost mix
Step-by-Step Guide to Building a Wattle Raised Garden Bed
1. Plan and Design Your Bed

- Decide the size, shape, and location of your bed.
- Ensure the area receives adequate sunlight for the plants you intend to grow.
- Sketch a rough design, noting dimensions and layout.
2. Prepare the Site
- Clear the area of any weeds, grass, or debris.
- Level the ground for a stable foundation.
- Mark the perimeter of the bed using chalk, string, or garden stakes.
3. Gather Materials
- Collect long, flexible branches or twigs for weaving. Freshly cut, green wood is easier to work with.
- Cut the branches into uniform lengths suitable for the bed’s height and circumference.
4. Install the Stakes
- Cut stakes to the desired length (bed height + 2 feet).
- Hammer the stakes into the ground along the bed’s perimeter, spacing them 8–12 inches apart. Leave about 2 feet of the stake exposed above ground for weaving.
5. Weave the Wattle
- Begin at one corner, weaving branches horizontally between the stakes.
- Alternate the starting side for each branch to create an interlocking structure.
- Gently bend branches as needed and weave tightly for stability.
- Trim any excess length with pruning shears.
6. Build the Walls
- Add layers of woven branches, ensuring each layer is snug and secure.
- Continue until the desired height is reached.
7. Secure the Top Layer
- Tuck the ends of the topmost branches into the weave to secure them.
- Optionally, add a rigid border for a polished finish.
8. Fill the Bed with Soil
- Mix garden soil with compost to create a nutrient-rich base.
- Fill the bed with the mixture, ensuring even distribution.
9. Plant Your Garden
- Choose plants suited to the bed’s size and sunlight exposure.
- Plant seeds or seedlings according to their specific requirements.
Maintenance Tips
- Watering: Keep soil moist but not waterlogged. Add mulch to help retain moisture.
- Pruning: Regularly trim loose or damaged branches to maintain the bed’s structure.
- Longevity: To extend the life of your wattle, periodically inspect for signs of wear and reinforce weak spots.
Why Choose a Wattle Raised Garden Bed?
This sustainable DIY project not only recycles natural materials but also enhances your garden’s aesthetic appeal. While the process is time-intensive, the result is a functional, eco-friendly addition to your outdoor space that provides years of use.
Pro Tips
- Use freshly cut branches for easier weaving.
- Regular maintenance will prolong the lifespan of the structure.
- Experiment with different designs to suit your garden’s layout and style.
Building a wattle-raised garden bed is an enjoyable way to connect with traditional craftsmanship while creating a practical gardening solution. Whether you’re an experienced gardener or a DIY enthusiast, this project offers the perfect combination of utility and artistry.
