Guava (Psidium guajava) is a tropical fruit known for its sweet, aromatic flavor. While it’s typically found in tropical and subtropical climates, growing guava at home in pots is a viable option for gardeners in various regions. Whether you’re looking to add a tropical touch to your garden or enjoy fresh, homegrown guavas, this guide will help you through the process, from seed harvesting to harvesting your own fruit.
Harvesting Guava Seeds
To start your guava-growing journey, you first need to harvest the seeds from a ripe guava fruit.
Materials Needed:
- Ripe guava fruit
- Knife
- Spoon
Step-by-Step:
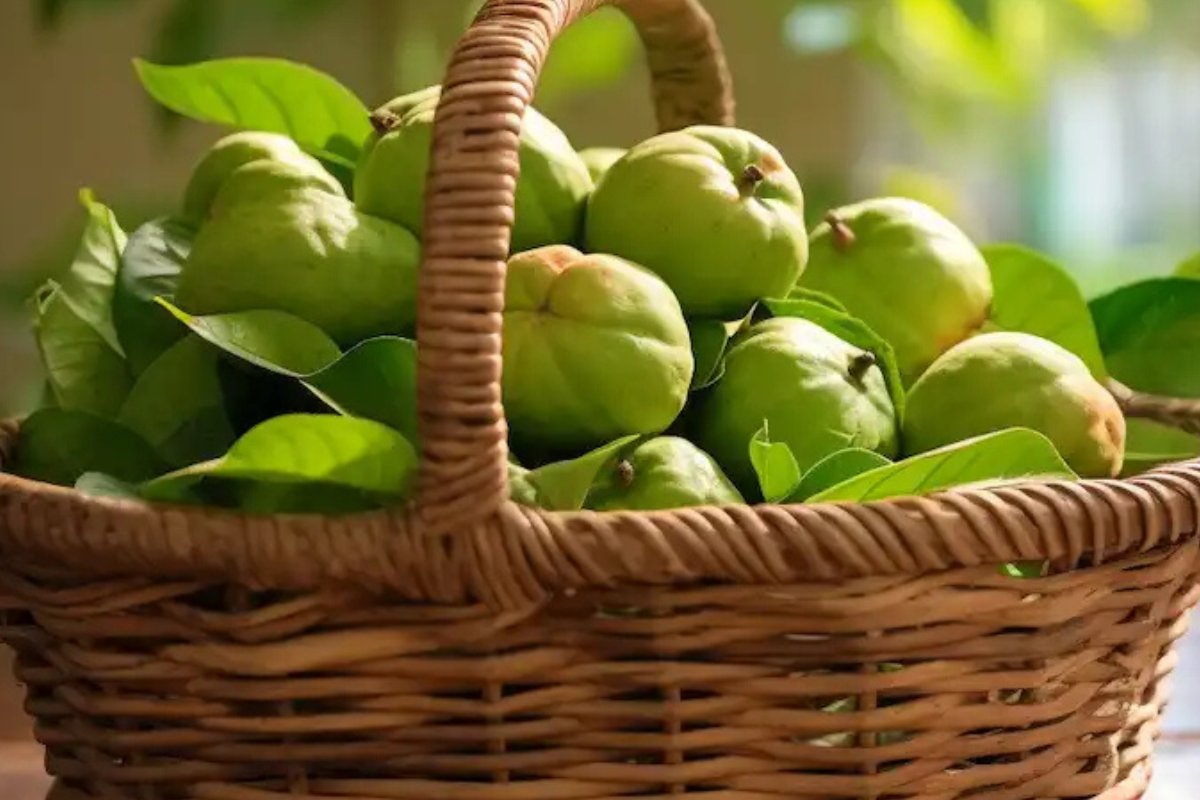
- Choose a Ripe Guava: Select a mature, ripe guava. It should yield slightly when pressed gently, indicating it’s ready for seed extraction.
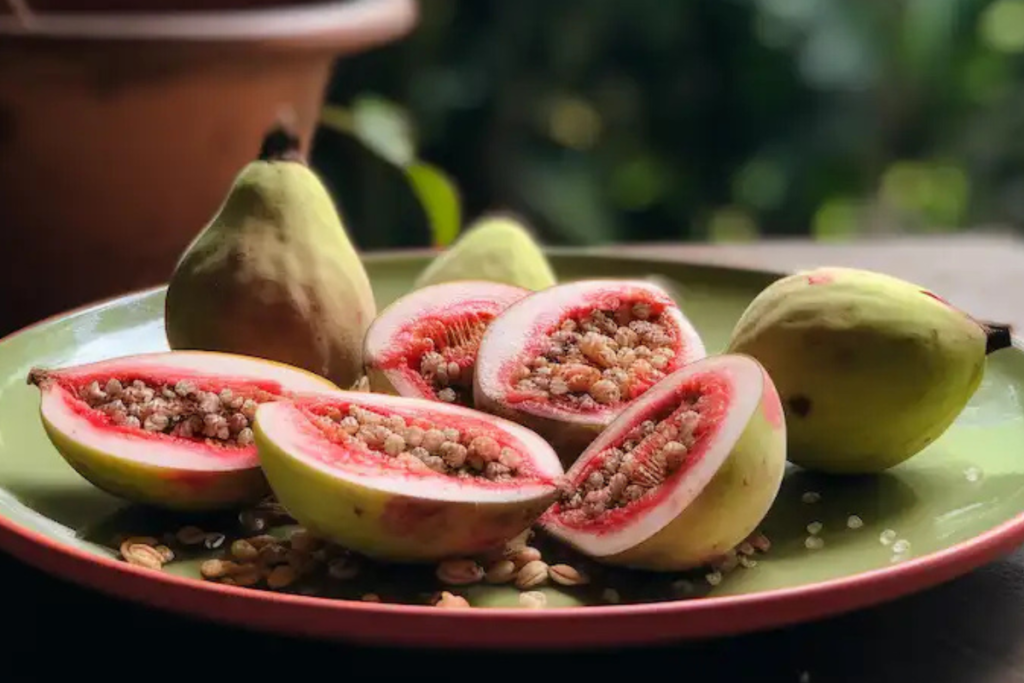
- Cut Open the Guava: Slice the guava in half carefully with a sharp knife.
- Remove the Seeds: Use a spoon to scoop out the seeds from the center. If any seeds are embedded in the flesh, be sure to collect them all.
- Clean the Seeds: Rinse the seeds under running water and pat them dry with a clean paper towel.
Germinating Guava Seeds
Once you’ve harvested the seeds, it’s time to germinate them. This crucial step sets the stage for a healthy guava tree.
Materials Needed:
- Guava seeds
- Moist paper towel
- Plastic ziplock bag
Step-by-Step:
- Prepare the Paper Towel: Lay the guava seeds on a damp paper towel (not soaking wet). Space them apart.
- Fold the Paper Towel: Fold the paper towel over the seeds to create a packet.
- Seal in a Ziplock Bag: Place the paper towel with the seeds into a plastic ziplock bag and seal it.
- Store in a Warm Place: Put the sealed bag in a warm spot (75°F-85°F or 24°C-29°C), like a windowsill. Germination takes 2 to 8 weeks, so be patient.
- Monitor the Seeds: Check the seeds regularly to ensure the paper towel stays moist.
Planting Guava Seedlings in Pots
Once the seeds have germinated and sprouted roots, it’s time to transplant them into pots.
Materials Needed:
- Guava seedlings
- Potting mix
- Pots with drainage holes
- Watering can
- Balanced, slow-release fertilizer
Step-by-Step:
- Prepare the Pots: Select pots at least 10-12 inches in diameter with drainage holes. Fill the pots with a well-draining potting mix.
- Transplant the Seedlings: Create a small hole in the center of the potting mix and gently place the guava seedling in, ensuring the root faces downward. Cover with soil.
- Watering: Water the seedlings thoroughly and ensure the soil remains consistently moist (but not waterlogged).
- Fertilization: Once the seedlings establish roots, apply balanced, slow-release fertilizer for continued growth.
Caring for Your Guava Potted Tree
To ensure your guava tree thrives in its pot, follow these care guidelines:
- Sunlight: Guava trees need full sun, so position your pot in a spot that gets at least 6-8 hours of direct sunlight per day.
- Watering: Keep the soil consistently moist, but avoid overwatering.
- Pruning: Prune the guava tree regularly to maintain its shape and remove any dead or diseased branches.
- Pests and Diseases: Keep an eye out for pests like fruit flies and aphids. If necessary, treat the plants with organic pesticides.
- Frost Protection: In colder climates, bring the potted tree indoors during winter or cover it with frost cloth to protect it from freezing temperatures.
- Fruit Thinning: Remove excess fruit early on to allow the remaining guavas to grow larger and healthier.
- Harvesting: Guavas are ready for harvest when they yield slightly to gentle pressure. Simply twist the fruit off the tree to harvest.
Final Thoughts
Growing guava at home in pots allows you to enjoy the tropical delight of homegrown guavas, no matter where you live. With the right care and attention, your potted guava tree will produce a bountiful harvest year after year, bringing the sweet, aromatic flavor of this tropical fruit into your home.