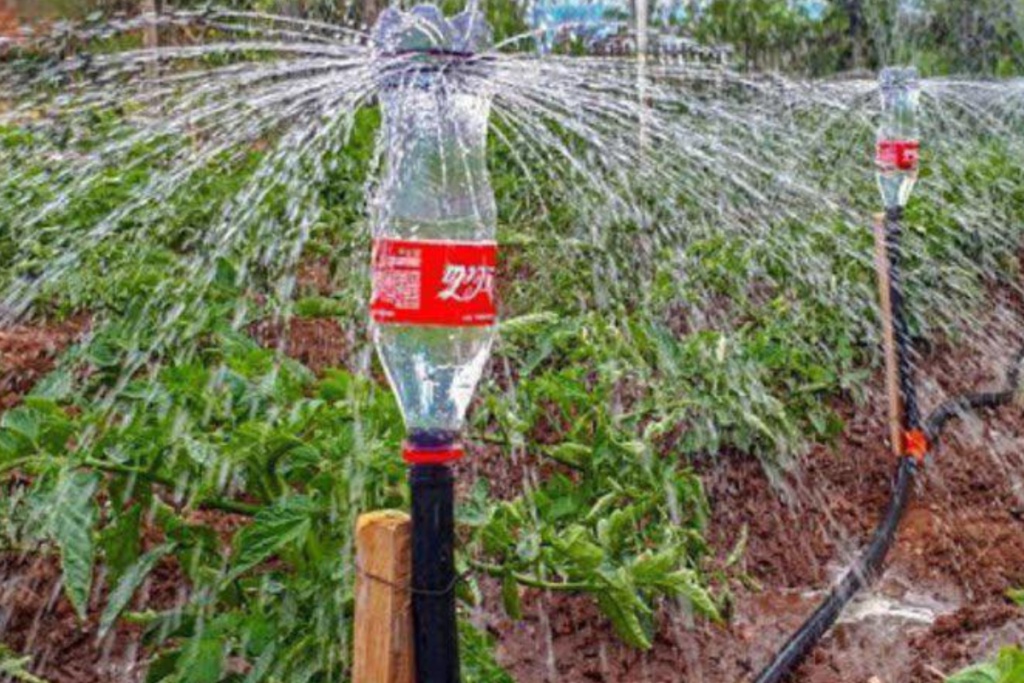
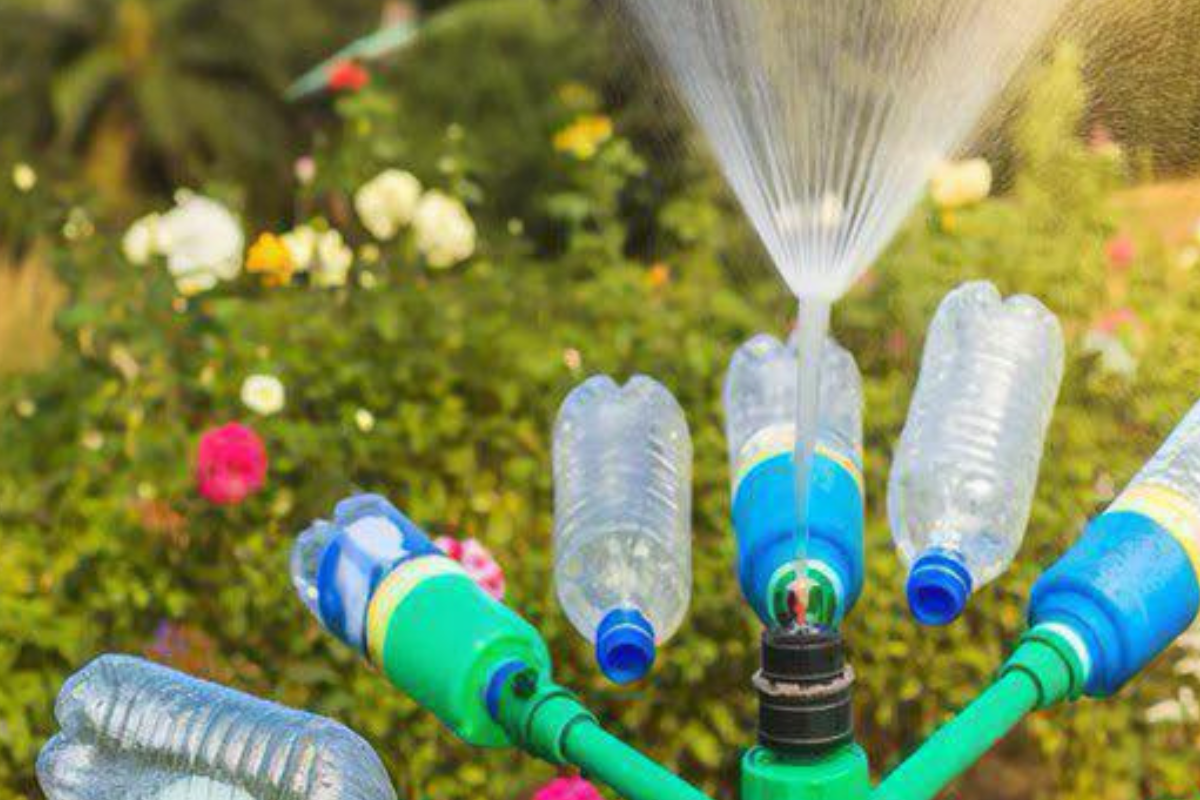
Efficient and cost-effective irrigation is essential for any garden, and with just a few household items, you can create your own rotating irrigation system for less than 10 cents. This ingenious solution not only saves money but also reuses materials that might otherwise go to waste. Here’s a step-by-step guide to building your own plastic bottle irrigation system.
Materials Needed

- Plastic bottles: Two or three large plastic bottles (1-2 liters) work best.
- Thin metal rod or wooden skewer: About 12-18 inches long, sturdy enough to support the bottles.
- Nails or a screwdriver: To create holes in the bottles.
- String or tape: To secure the bottles if needed.
- Garden hose or water source: To connect to the system.
- Scissors or a utility knife: For cutting the bottles.
Step 1: Prepare the Plastic Bottles
- Clean the bottles: Wash the plastic bottles thoroughly to remove any residue.
- Create water outlets: Using a nail or screwdriver, poke small holes around the sides of the bottles. Space the holes evenly for consistent water distribution.
- Make the bottle arms: Cut off the top (just below the neck) of one bottle to create an open container. This will act as the central hub for the rotating system. For the other bottles, leave the tops intact as these will serve as the rotating arms.
Step 2: Assemble the Rotation Mechanism
- Insert the rod: Poke the metal rod or wooden skewer through the center of the hub bottle horizontally, ensuring it rotates freely.
- Attach the arms: Use tape or string to secure two smaller bottles (with holes) to opposite sides of the central hub bottle. Ensure the bottles are evenly balanced to allow smooth rotation.
- Test the balance: Spin the structure lightly to check if it rotates easily. Adjust the positioning of the bottles if needed.
Step 3: Set Up the System in Your Garden
- Install the rod: Place the rod on a stable base, such as two bricks or wooden posts, to elevate the system off the ground.
- Connect the water source: Attach a garden hose or direct a water pipe into the open top of the hub bottle. Ensure a steady flow of water into the system.
Step 4: Test the Rotating Irrigation System
- Turn on the water supply. As the water flows through the hub bottle and out of the arms, the pressure will cause the arms to spin.
- Observe the water distribution. Adjust the size and number of holes in the arm bottles if necessary to achieve uniform coverage.
Benefits of This System
- Cost-effective: The entire system can be made with recycled materials, costing virtually nothing.
- Eco-friendly: Reduces plastic waste and water consumption.
- Customizable: You can modify the size and layout to suit your garden’s needs.
- Easy to maintain: Replace or repair parts as needed with readily available materials.
Troubleshooting
- System doesn’t spin: Check if the bottles are balanced or if the water pressure is sufficient to create movement.
- Uneven water distribution: Reassess the size and placement of holes in the bottles.
- Leaks at the hub: Ensure the hose or water source is securely connected.
Final Thoughts
This rotating irrigation system is a simple, innovative, and budget-friendly way to keep your garden hydrated. With just a few household items and some creativity, you can build a functional irrigation system that saves water, reuses plastic, and keeps your plants thriving. Give it a try and enjoy the benefits of sustainable gardening!
