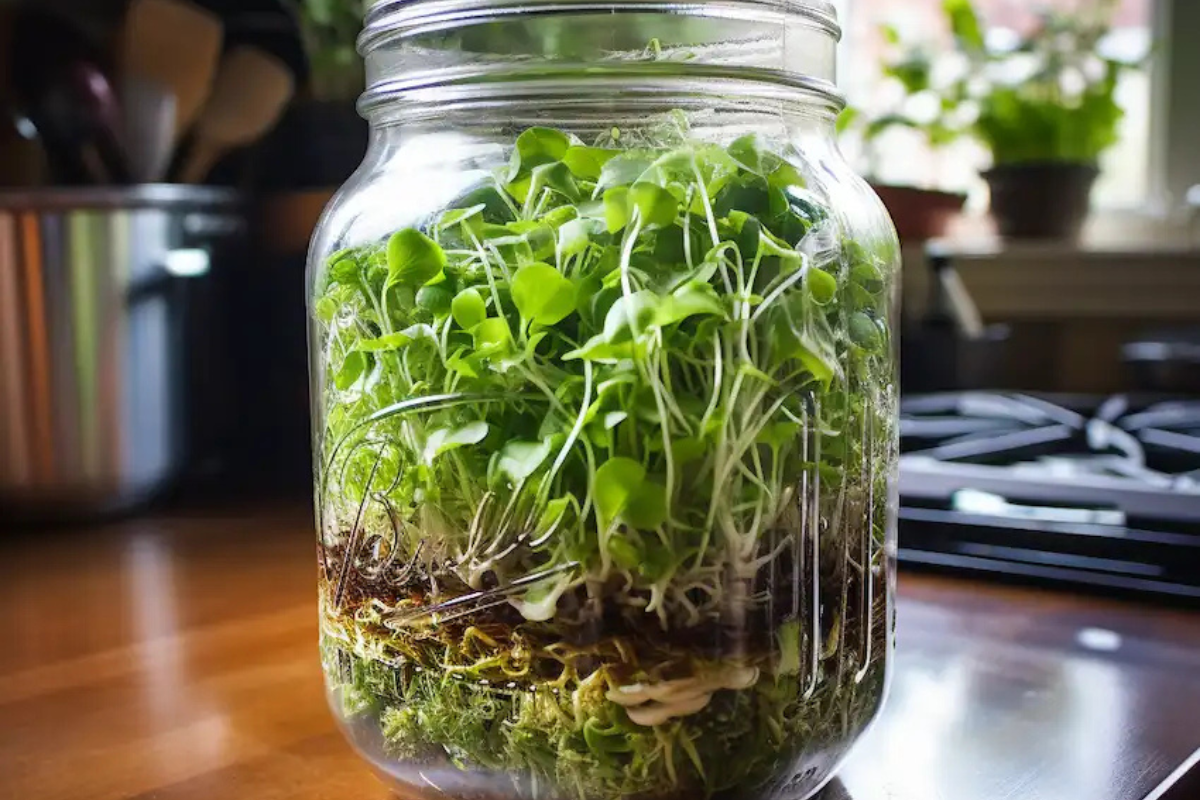
Soaking and sprouting seeds, grains, and legumes is a timeless practice that transforms these staples into nutritional powerhouses. This guide delves into the benefits, provides a comprehensive soaking and sprouting chart, and outlines a step-by-step process to help you incorporate these nutrient-rich foods into your daily life.
I. The Magic of Soaking and Sprouting
Nutritional Benefits:
- Germination reduces antinutrients like phytic acid, unlocking higher levels of vitamins, minerals, and proteins.
- Soaked and sprouted foods become easier to digest as enzyme inhibitors and complex starches break down.
Enhanced Flavor and Texture:
- Sprouting introduces a fresh, nutty flavor and a satisfying crunch, ideal for salads, sandwiches, and snacks.
II. Soaking and Sprouting Chart
Use this chart as a guideline for soaking and sprouting various seeds, grains, and legumes. Times may vary slightly based on temperature and seed quality.
| Food Type | Soaking Time | Sprouting Time |
|---|---|---|
| Alfalfa Seeds | 4-8 hours | 3-5 days |
| Chickpeas | 8-12 hours | 2-3 days |
| Lentils | 8 hours | 2-3 days |
| Mung Beans | 8-12 hours | 2-5 days |
| Quinoa | 4-6 hours | 1-2 days |
| Sunflower Seeds | 8 hours | 2-3 days |
| Wheat Berries | 8-12 hours | 3-4 days |
| Adzuki Beans | 8-12 hours | 2-4 days |
| Barley | 6-8 hours | 2-3 days |
| Buckwheat | 6 hours | 1-2 days |
| Broccoli Seeds | 8 hours | 4-6 days |
| Kidney Beans | 8-12 hours | 5-7 days |
| Pumpkin Seeds | 8 hours | 1-2 days |
| Radish Seeds | 8-12 hours | 3-4 days |
| Soybeans | 12 hours | 2-5 days |
| Sesame Seeds | 8 hours | 1-2 days |
Note: Some foods like chia seeds and flax seeds are better for soaking only (not sprouting) due to their gelatinous coating.
III. Step-by-Step Guide to Soaking and Sprouting
Materials Needed:
- Clean, filtered water
- A large bowl or jar
- A sprouting jar or clean mesh cloth
- Rubber bands (if using mesh cloth)
- Your choice of seeds, grains, or legumes
Step 1: Select and Rinse
- Choose high-quality, organic seeds, grains, or legumes.
- Rinse thoroughly under cool, running water to remove debris.
Step 2: Soaking
- Place your rinsed items in a large bowl or jar.
- Cover with clean, filtered water, leaving room for expansion.
- Refer to the chart for specific soaking times.
- After soaking, drain and rinse thoroughly.
Step 3: Sprouting
- Transfer soaked items to a sprouting jar or secure mesh cloth over a jar with a rubber band.
- Invert the jar at an angle for proper drainage and airflow.
- Rinse and drain 2-3 times daily, following the sprouting duration in the chart.
- Once sprouts reach the desired size, give a final rinse and drain well.
Step 4: Storing Sprouts
- Allow sprouts to dry slightly after the final rinse to prevent mold.
- Store in a clean, airtight container in the refrigerator.
- Consume within one week for optimal freshness.
IV. Enjoying the Benefits
Soaked and sprouted seeds, grains, and legumes are versatile ingredients that enhance both nutrition and flavor in meals. Add them to:
- Salads: For a fresh crunch.
- Wraps or Sandwiches: For added texture.
- Smoothies: For a nutritional boost.
- Baking: Sprouted grains add depth to bread and muffins.
Conclusion
Soaking and sprouting are simple yet transformative processes that unlock the full potential of seeds, grains, and legumes. By following this guide and using the soaking and sprouting chart, you can enjoy the profound health benefits, enhanced flavors, and textures they provide. Step into the world of sprouting and experience nature’s bounty in every bite.
