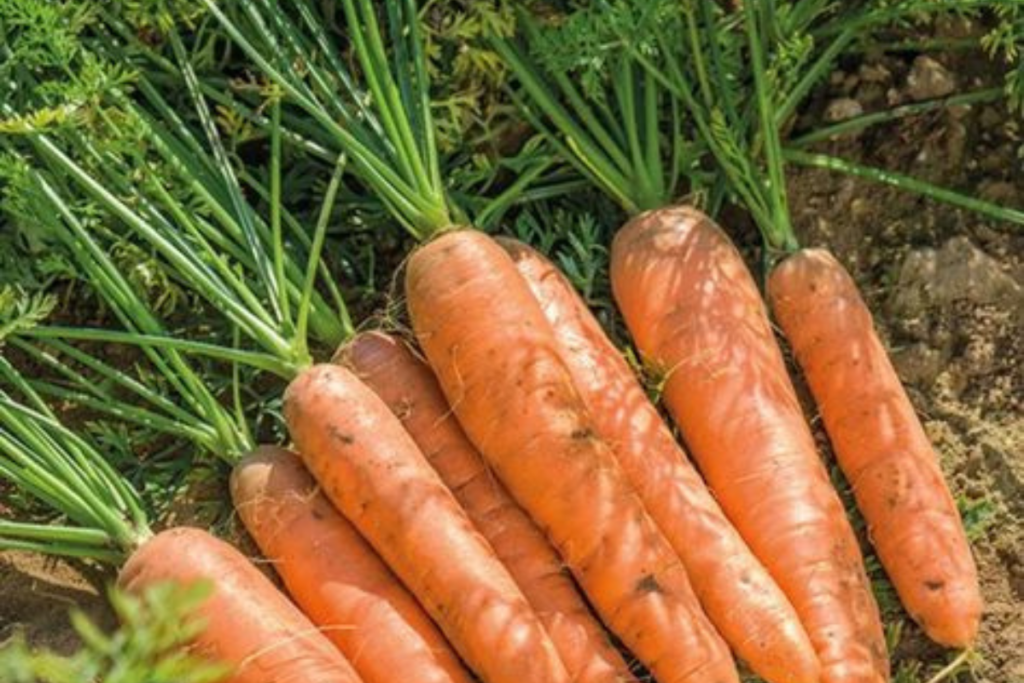
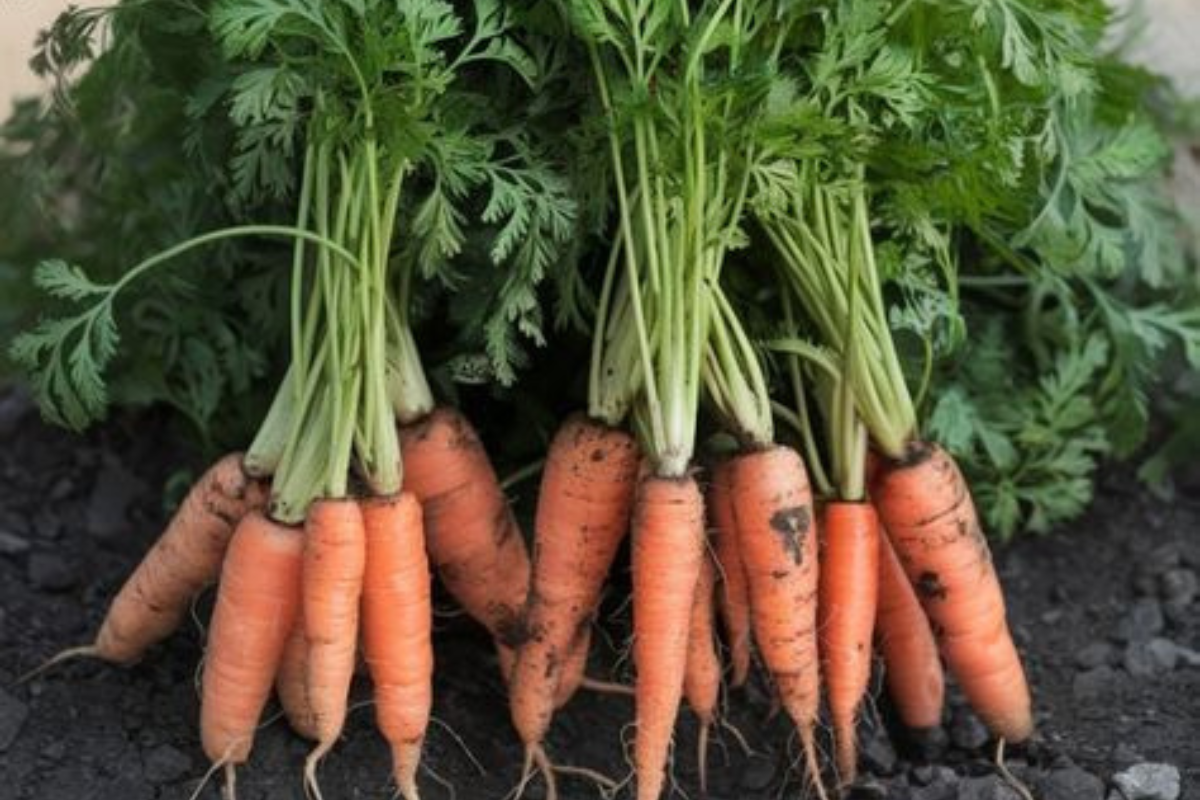
Carrots are one of the most rewarding vegetables to grow in your garden. Sweet, crunchy, and packed with nutrients, they’re a staple in many cuisines around the world. Whether you’re a seasoned gardener or just starting out, this guide will help you grow carrots that are straight, vibrant, and delicious. Let’s dig in!
Why Grow Your Own Carrots?
Growing your own carrots has several advantages:
- Better Flavor: Homegrown carrots are sweeter and more flavorful than store-bought ones.
- Variety: Choose from a wide range of colors, shapes, and sizes, including purple, yellow, and even round carrots.
- Health Benefits: Carrots are rich in beta-carotene, fiber, and antioxidants.
Step 1: Choose the Right Variety
Carrots come in different types, so selecting the right one for your garden is key:
- Nantes: Sweet and cylindrical, perfect for beginners.
- Imperator: Long and slender, ideal for deep, loose soil.
- Chantenay: Short and stout, great for heavy or shallow soils.
- Rainbow Mix: A colorful mix of red, yellow, and purple carrots.
Step 2: Prepare the Soil

Carrots thrive in loose, well-draining soil. Follow these steps to prepare the perfect growing bed:
- Loosen the Soil: Remove rocks, debris, and clumps to prevent misshapen roots. Dig at least 12 inches deep.
- Add Organic Matter: Mix in compost or well-rotted manure to enrich the soil, but avoid fresh manure, which can cause forking.
- Check pH: Carrots prefer slightly acidic to neutral soil (pH 6.0-7.0). Test your soil and adjust as needed.
Step 3: Planting Carrot Seeds
- When to Plant: Carrots grow best in cool weather. Sow seeds in early spring or late summer for a fall harvest.
- Sow Seeds: Scatter seeds thinly in rows, about ½ inch deep and 1 inch apart. Space rows 12 inches apart.
- Cover and Water: Lightly cover the seeds with fine soil and water gently to keep the soil moist.
Step 4: Care for Your Carrots
- Thinning: Once seedlings are 2 inches tall, thin them to 2-3 inches apart to give roots room to grow.
- Watering: Keep the soil consistently moist but not waterlogged. Deep, regular watering encourages straight growth.
- Weeding: Remove weeds carefully to avoid disturbing the shallow carrot roots.
- Mulching: Add a layer of mulch to retain moisture and regulate soil temperature.
Step 5: Protect Against Pests and Diseases
- Carrot Fly: Use floating row covers or plant carrots alongside strong-scented companions like onions to deter carrot flies.
- Fungal Diseases: Ensure good air circulation and avoid overwatering to prevent rot and mildew.
Step 6: Harvesting Carrots
- When to Harvest: Carrots are ready to harvest 60-80 days after planting. Check the diameter of the root at the soil line (about 1 inch for most varieties).
- How to Harvest: Loosen the soil around the carrot with a fork, then gently pull it out by the greens.
- Staggered Harvesting: Leave some carrots in the ground and harvest as needed for fresher produce.
Step 7: Storage and Enjoyment
- Short-Term Storage: Keep carrots in the fridge for up to two weeks.
- Long-Term Storage: Store carrots in damp sand or sawdust in a cool, dark place.
- Get Creative: Use your homegrown carrots in soups, salads, roasted dishes, or even carrot cake!
Pro Tips for Perfect Carrots
- Avoid Over-Fertilizing: Too much nitrogen can lead to excessive foliage and small roots.
- Succession Planting: Sow seeds every 2-3 weeks for a continuous harvest.
- Experiment: Try growing carrots in containers or raised beds if your garden soil is heavy.
Final Thoughts
Growing carrots can be a deeply satisfying experience, and the taste of freshly harvested carrots will make all your effort worthwhile. By following this guide, you’ll be well on your way to a bountiful harvest of sweet, crunchy carrots. Happy gardening!
