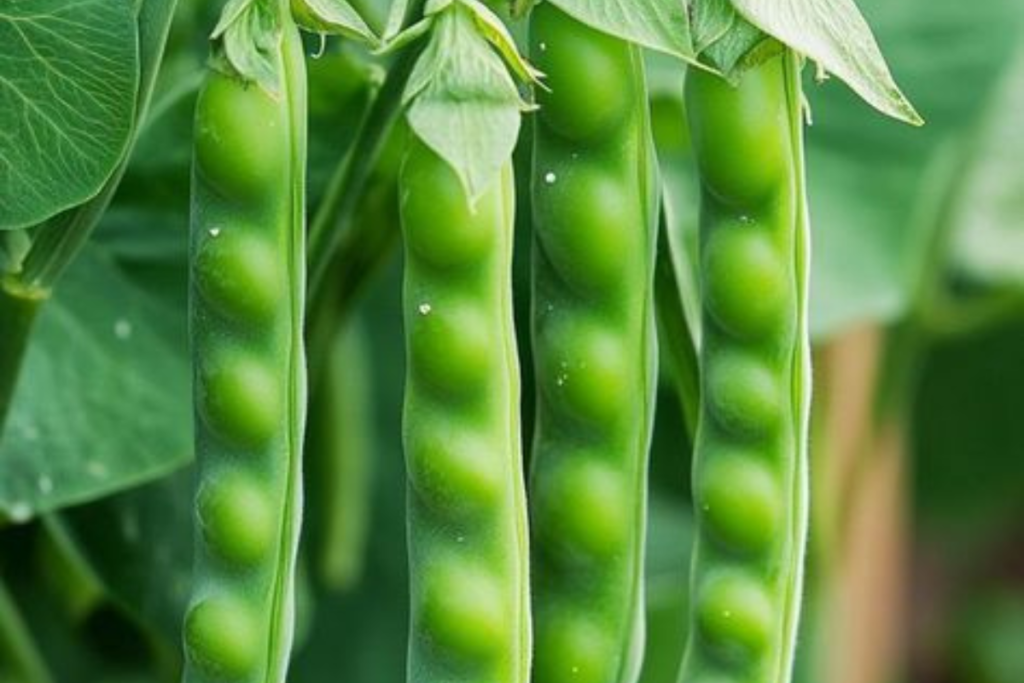
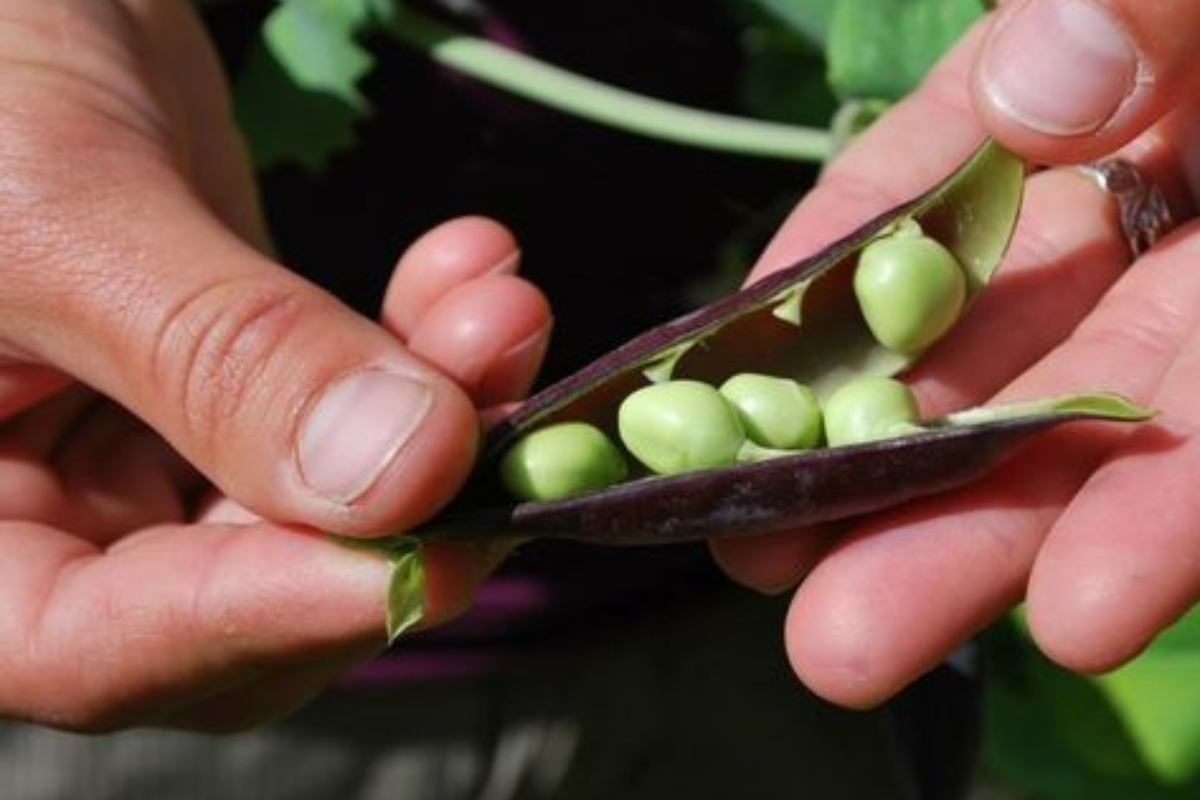
Growing peas at home is a delightful and rewarding experience. Whether you have a large backyard or a small balcony, peas are easy to grow, take up minimal space, and taste far better when freshly picked. This guide will walk you through everything you need to know about planting, caring for, and harvesting peas in your garden or containers.
Why Grow Your Own Peas?
- Flavor: Fresh peas are sweeter and more tender than store-bought ones.
- Easy to Grow: Perfect for beginners, peas require little maintenance and thrive in a variety of conditions.
- Quick Harvest: Peas are one of the first crops ready to harvest in spring.
- Nutritional Value: Rich in protein, vitamins, and fiber, peas are a healthy addition to any diet.
Step 1: Choose the Right Variety

Peas come in three main types, each with its own uses and growing requirements:
- Shelling Peas (Garden Peas):
- Grown for their sweet, plump seeds inside the pods.
- Pods are not edible.
- Snow Peas:
- Flat pods that are harvested when young and tender.
- Entire pod is edible.
- Sugar Snap Peas:
- A cross between shelling and snow peas.
- Both seeds and pods are edible, offering a sweet crunch.
Step 2: Prepare Your Planting Area
- Choose the Right Spot:
- Peas thrive in cool weather and full sun.
- Select a location with 6-8 hours of sunlight daily.
- Soil Preparation:
- Peas prefer well-draining, loamy soil with a pH of 6.0-7.5.
- Enrich the soil with compost or well-rotted manure to improve fertility.
- Support Structures:
- Install trellises, stakes, or netting for climbing pea varieties.
- Dwarf or bush varieties may not need support.
Step 3: Planting Peas
- When to Plant:
- Peas grow best in cool weather. Plant seeds 4-6 weeks before the last frost date in spring or in late summer for a fall harvest.
- Sow the Seeds:
- Plant seeds about 1 inch deep and 2 inches apart.
- Space rows 18-24 inches apart.
- Watering:
- Water thoroughly after planting to ensure good seed-to-soil contact.
Step 4: Caring for Pea Plants
- Watering:
- Keep the soil consistently moist but not waterlogged.
- Peas need about 1 inch of water per week.
- Mulching:
- Apply a layer of mulch to retain soil moisture and suppress weeds.
- Fertilizing:
- Peas are nitrogen-fixing plants and don’t require heavy fertilization. A light application of balanced fertilizer at planting is sufficient.
- Weeding:
- Remove weeds regularly to avoid competition for nutrients and water.
Step 5: Harvesting Peas
- When to Harvest:
- Shelling Peas: Harvest when pods are full but not overripe.
- Snow Peas: Pick when pods are flat and tender.
- Sugar Snap Peas: Harvest when pods are plump and crunchy.
- How to Harvest:
- Use two hands to gently pick peas to avoid damaging the plant.
- Check plants daily, as peas mature quickly.
- Staggered Harvest:
- Peas have a short harvest window. Plant in succession every 2-3 weeks for a continuous supply.
Step 6: Troubleshooting Common Issues
- Pests:
- Aphids: Spray plants with a strong stream of water or use insecticidal soap.
- Cutworms: Protect young seedlings with collars made from cardboard or plastic.
- Diseases:
- Powdery Mildew: Ensure good air circulation and avoid overhead watering.
- Root Rot: Prevent waterlogging by planting in well-draining soil.
- Poor Yield:
- Peas are sensitive to heat. Plant early in the season to avoid high temperatures.
Step 7: Storing and Enjoying Your Peas
- Fresh Use:
- Use freshly picked peas immediately for the best flavor.
- Add to salads, stir-fries, or enjoy raw as a snack.
- Refrigeration:
- Store unwashed peas in an airtight container in the fridge for up to a week.
- Freezing:
- Blanch peas briefly in boiling water, then freeze for long-term storage.
Final Thoughts
Growing peas at home is an enjoyable and rewarding endeavor. With a little effort and care, you’ll be rewarded with a bountiful harvest of sweet, crunchy pods. Whether in a garden bed or a container, peas are a fantastic crop for any home gardener.
