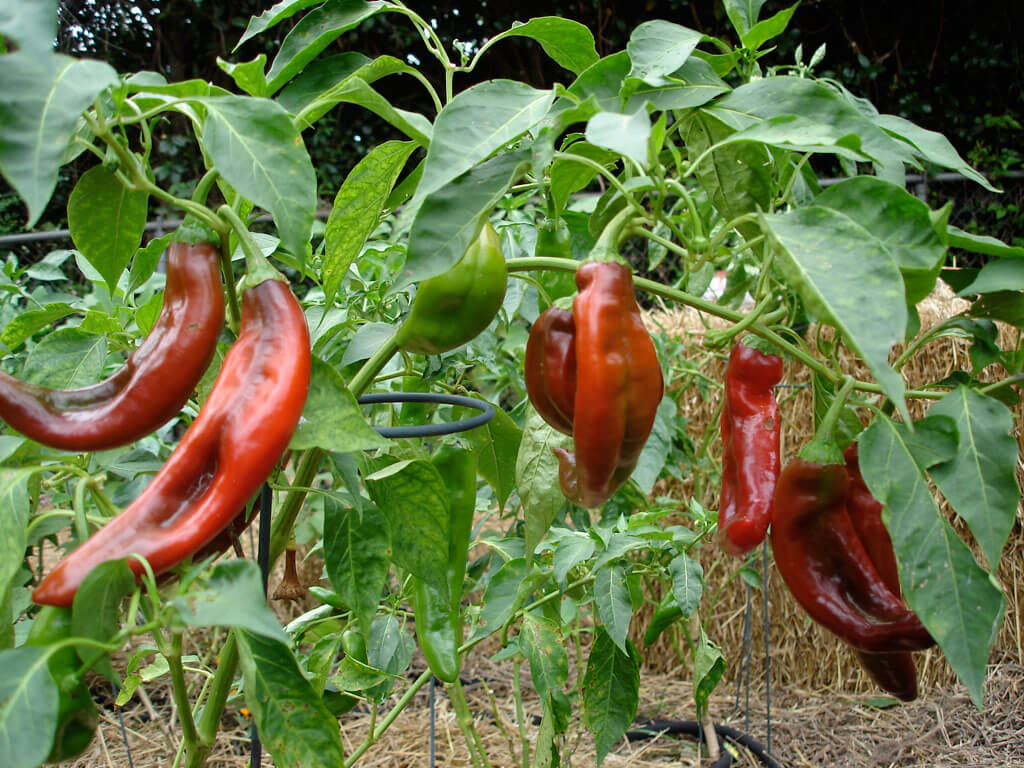
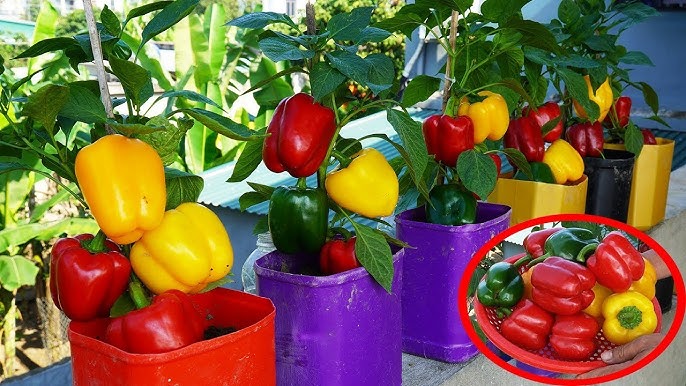
Bell peppers are among the most popular and versatile vegetables in the garden. Known for their sweet flavor, crisp texture, and vibrant colors—ranging from green to yellow, red, purple, orange, and even brown—they add a burst of color and nutrition to any dish. With their mild taste and juicy flesh, bell peppers are a staple in salads, stir-fries, and many other recipes. If you’re looking to grow these delicious peppers at home, here’s everything you need to know to successfully cultivate them in your garden.
1. Start Seeds Indoors
Bell peppers can easily be grown from seeds. In regions with cold winters, it’s best to start seeds indoors about six to eight weeks before the last expected frost. This gives the seeds a head start before transplanting them outdoors. Place 2-3 seeds in each container, and thin out the weaker plants after a couple of weeks. This ensures the healthiest seedlings are left to grow.
2. Transplant Seedlings Outdoors
Once temperatures stabilize at 70°F (21°C) or higher, it’s time to move your seedlings outside. Choose a sunny location with nutrient-rich, well-drained soil. Space your pepper plants about 24 inches apart, which allows them to grow comfortably while still benefiting from some shading from each other during the hottest parts of the day. This spacing also provides good air circulation to reduce the risk of disease.
3. Mulch Around Your Plants

Mulching is a simple yet effective practice that offers several benefits for bell peppers. Apply a thick layer of mulch—such as bark chips, straw, pine needles, or grass clippings—around the base of the plants. Mulch helps retain moisture in the soil, keeps the roots cool during hot weather, and prevents weeds from taking over. This is an often-overlooked step but one that makes a significant difference in plant health.
4. Watering: Keep It Consistent
Bell peppers require one to two inches of water each week for optimal growth. During hot and dry spells, you may need to water a bit more. Always water at the base of the plant to avoid wetting the foliage, which can encourage disease. Consistent watering helps ensure strong, healthy plants that produce high-quality peppers.
5. Fertilize to Boost Growth
Bell peppers, like most plants, benefit from occasional feeding. Apply fertilizer to replenish nutrients in the soil, but only after the plants have begun to flower. Fertilizing too early can promote leafy growth at the expense of fruit production. A balanced fertilizer with an appropriate nutrient ratio is ideal for peppers, ensuring they get the nutrients needed for fruit formation and overall health.
6. Pest Control
Bell peppers can fall victim to a variety of pests, including aphids, thrips, mites, and blister beetles. It’s important to inspect your plants regularly for signs of pests. Early detection allows you to address infestations before they cause significant damage. If you notice any issues, consult your local garden center for advice on safe and effective treatments.
7. Harvesting Bell Peppers
One of the best features of bell peppers is that you can harvest them at different stages. While they’re typically picked when they reach their full size and color, you can also harvest them while still green. Keep in mind that green bell peppers are simply immature versions of red, yellow, or orange peppers. When harvesting, use a sharp knife or scissors to cut the pepper from the plant, leaving about 1-2 inches of stem attached. This prevents damage to both the plant and the fruit, ensuring a healthy, productive harvest.
By following these steps, you’ll be on your way to growing a thriving bell pepper garden. With a little care and attention, you can enjoy fresh, homegrown bell peppers in your dishes all season long.
