
Keeping your vegetable garden hydrated is essential for healthy plant growth, but frequent watering can be time-consuming. An automatic vegetable waterer using a plastic bottle is an easy, cost-effective solution to ensure consistent moisture levels in your garden. This DIY method is not only environmentally friendly but also helps conserve water. In this guide, we will walk you through the steps to create your own automatic vegetable waterer using simple materials.
Materials Needed
To create an automatic waterer, gather the following items:
- A plastic bottle (1-2 liters)
- A sharp knife or scissors
- A nail or a small drill
- Water
- Soil
- Optional: A wooden stick or stake for support
Step-by-Step Guide
Step 1: Choose the Right Bottle
Select a plastic bottle that fits well with the size of your plant. A larger bottle will hold more water, making it ideal for plants that require consistent moisture.
Step 2: Create Drainage Holes
Using a nail or small drill, make several small holes in the cap of the plastic bottle. These holes will allow water to slowly seep into the soil, preventing overwatering and ensuring consistent hydration.
Step 3: Prepare the Bottle
Cut off the bottom of the bottle to make it easier to refill. This opening will also allow air to enter, ensuring a steady water flow through the holes in the cap.
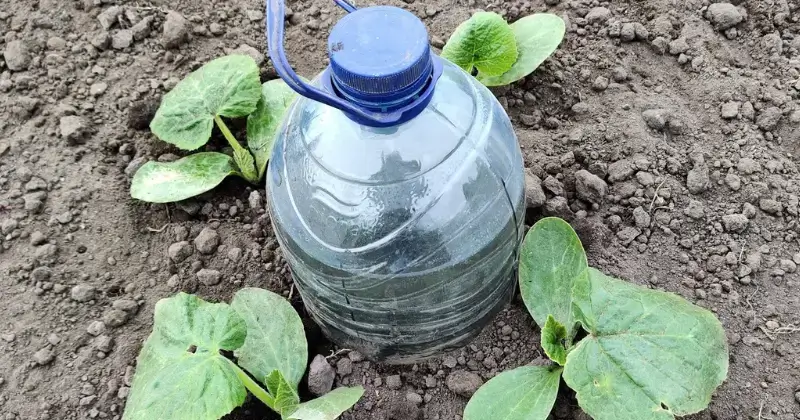
Step 4: Insert the Bottle into the Soil
Bury the bottle upside down, with the cap end facing downward, near the roots of your vegetable plants. Make sure the holes in the cap are in direct contact with the soil to facilitate slow water release. If needed, use a wooden stick or stake to stabilize the bottle.
Step 5: Fill the Bottle with Water
Pour water into the open end of the bottle. The water will gradually seep into the soil, providing your plants with a steady supply of moisture without the need for daily watering.
Benefits of Using an Automatic Vegetable Waterer
1. Water Conservation
This method reduces water wastage by delivering moisture directly to the roots, minimizing evaporation and runoff.
2. Time-Saving
With an automatic waterer in place, gardeners do not need to water their plants daily, making it ideal for those with busy schedules.
3. Prevents Overwatering
The slow-release mechanism ensures that plants receive just the right amount of water, preventing root rot and fungal diseases.
4. Cost-Effective and Sustainable
Reusing plastic bottles for irrigation not only reduces waste but also eliminates the need for expensive irrigation systems.
Additional Tips for Best Results
- Use multiple bottles for larger vegetable gardens to ensure even hydration.
- Adjust the hole size if water is draining too quickly or too slowly.
- Monitor soil moisture levels to make sure plants are receiving adequate hydration.
- Refill bottles regularly, especially during hot weather when evaporation rates are higher.
Frequently Asked Questions
1. How long does the water last in the bottle?
The duration depends on factors such as soil type, plant size, and weather conditions. On average, a 1-liter bottle can last between 2 to 5 days.
2. Can I use this method for all types of vegetables?
Yes, but it works best for vegetables that require consistent moisture, such as tomatoes, cucumbers, and peppers.
3. How deep should I bury the bottle?
The bottle should be inserted deep enough for the cap to be in contact with the root zone, typically 4-6 inches deep.
Conclusion
Creating an automatic vegetable waterer using a plastic bottle is a simple yet effective way to keep your garden hydrated while conserving water. This method is eco-friendly, easy to maintain, and perfect for both beginners and experienced gardeners.
Try this DIY irrigation system today and enjoy healthier, more productive plants.