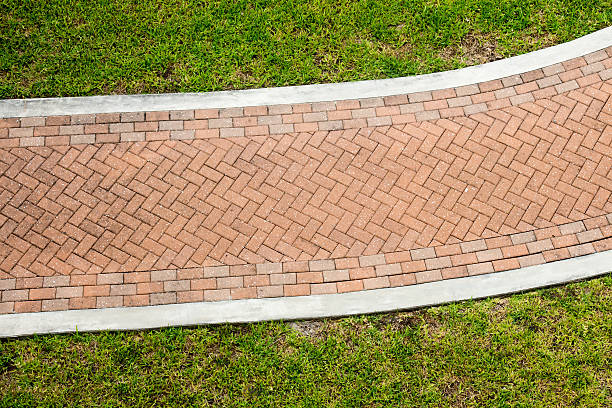
Building a brick walkway in your garden can greatly enhance both its aesthetic appeal and functionality. Not only does it create a visually striking path, but it also provides a durable route that guides you through your outdoor sanctuary. This DIY project adds charm and value to your home. Here’s a detailed guide to help you construct a stunning brick walkway in your garden.
Step 1: Design and Planning
- Visualize Your Path: Start by deciding where your walkway will go. Consider how it will blend with the garden’s layout, shape, and function. A straight walkway gives a formal look, while a curved path feels more organic and casual.
- Choose Your Bricks: Select bricks that complement your garden’s design. Options include clay bricks, concrete bricks, or reclaimed bricks. Each offers different colors, textures, and durability. Choose wisely based on your garden style and the overall look of your home.
- Measure the Space: Measure the length and width of the walkway area. These measurements will help you determine how many bricks and other materials are needed.
Step 2: Preparation

- Mark the Path: Use stakes and string to outline the path. This step ensures that your layout is accurate and gives you a clear visual of how the walkway will look.
- Excavate the Area: Dig along the path to a depth of about 8 inches. This will provide enough space for a solid base, sand, and the bricks.
- Create a Solid Base: Lay a 4-inch thick layer of crushed stone or gravel along the path. Compact it thoroughly to prevent settling and ensure stability for your walkway.
Step 3: Laying the Bricks
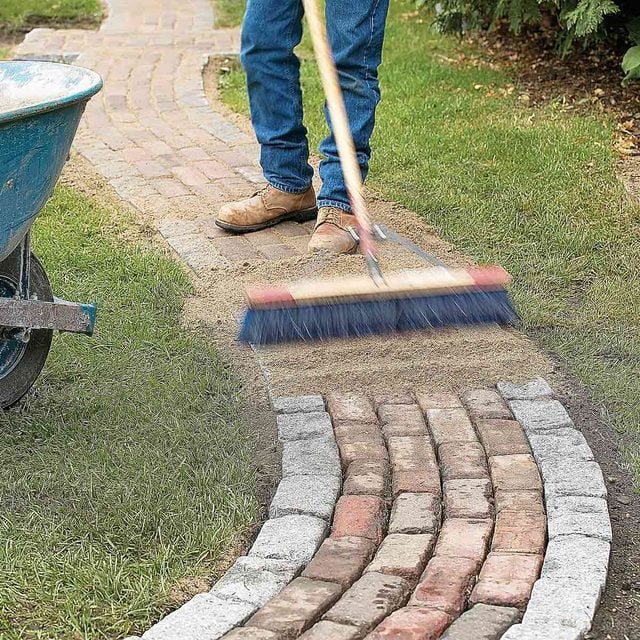
- Add Sand: On top of the gravel base, spread about 2 inches of sand. This layer will help level the surface and provide a flexible foundation for the bricks.
- Lay the Bricks: Starting at one end, place each brick firmly into the sand. Use a rubber mallet to tap them into place. Ensure the bricks fit snugly together to prevent shifting.
- Cutting Bricks: If necessary, cut bricks to fit the design using a brick chisel and hammer or a masonry saw.
- Ensure Level: Periodically check that the bricks are level. Adjust by adding or removing sand underneath them as needed.
Step 4: Finishing Touches
- Fill the Joints: After laying all the bricks, sweep sand over the surface to fill the gaps between the bricks. This step helps lock the bricks in place.
- Compact the Walkway: Use a hand tamper or light plate compactor to gently compact the walkway. This will help settle the bricks and sand, ensuring stability.
- Final Cleaning: Sweep away excess sand and debris. You can also rinse the walkway with water to help the sand settle into the joints.
Step 5: Maintenance
- Regular Inspections: Periodically check for any loose or uneven bricks. Early detection allows for quick repairs, keeping your walkway intact.
- Weed Control: Watch for weeds growing between the bricks. Remove them by hand or apply a natural herbicide to keep the walkway looking neat.
- Re-sanding: Over time, the sand between the bricks may wash away. Reapply sand as needed to maintain the walkway’s stability.
Building a brick walkway in your garden is a manageable yet rewarding project. It enhances both the beauty and functionality of your outdoor space. By following these simple steps, you’ll create a lasting and attractive path that you can enjoy for years. Happy gardening!
