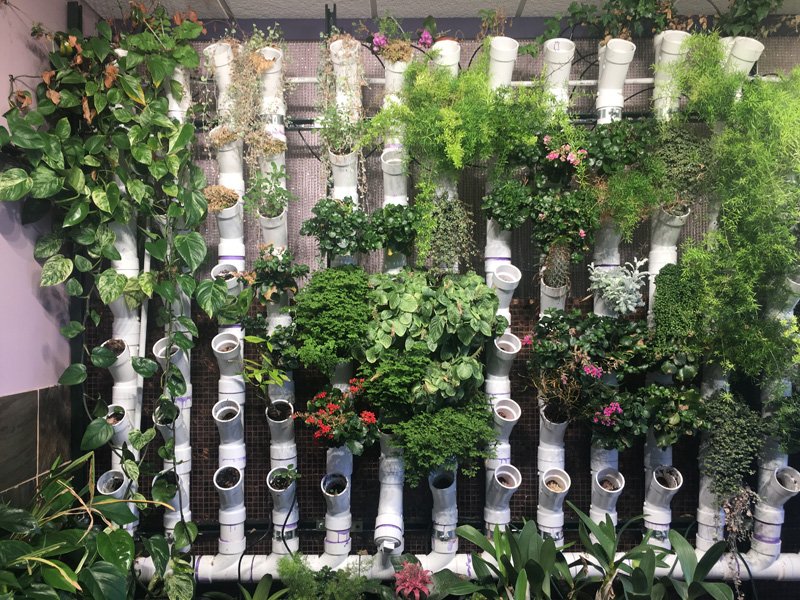
Hydroponics is an innovative method of growing plants without soil, utilizing nutrient-rich water instead. Derived from the Greek words “hydro” (water) and “ponos” (labor), this technique has gained significant popularity as water conservation becomes more critical and urban farming continues to rise. Here’s how you can create your very own hydroponic system at home.
Benefits of Hydroponics:
- Faster Growth: Plants in hydroponic systems can grow up to 25% faster and yield up to 30% more than those grown in soil.
- Water Efficiency: Hydroponics uses up to 90% less water than traditional farming, making it ideal for water conservation.
- Space-Saving: This method is perfect for small spaces, such as apartments or city environments.
- Reduced Risk of Diseases: Without soil, plants are less susceptible to pests and soil-borne diseases.
Types of Hydroponic Systems:
- Wick System: Nutrient solution is drawn into the growing medium using wicks. Simple but effective for small setups.
- Deep Water Culture (DWC): Plants are suspended in water with roots submerged, while an air stone provides oxygen.
- Nutrient Film Technique (NFT): A thin film of nutrient solution flows over the plant roots in a sloped tray.
- Ebb and Flow (Flood and Drain): The grow tray is periodically flooded with nutrient solution, then drained back into the reservoir.
- Drip System: Nutrient solution is delivered to the plants’ base via a timed drip line.
- Aeroponics: Roots are suspended in air and misted with nutrient solution, offering high oxygen exposure.
How to Build a Simple Deep Water Culture (DWC) System:
Materials Needed:
- A large container or tub for the reservoir.
- Aquarium air pump and air stone.
- Hydroponic nutrient solution.
- pH control kit.
- Net pots or cups.
- Growing medium (e.g., hydroton, rock wool).
- Plants or seeds.
- A container lid or cover.
Steps:

- Set Up the Reservoir: Fill the container with water, leaving about an inch from the top to prevent overflow. This is where your nutrient solution will go.
- Install the Air Pump: Attach the air stone to the pump and place it in the reservoir. This will supply oxygen to the plant roots.
- Prepare the Lid: Cut holes in the lid large enough for the net pots to sit in, ensuring the plant roots will be partially submerged in the nutrient solution.
- Prepare the Plants: Plant seeds in the growing medium inside the net pots. If using seedlings or cuttings, transfer them into the pots.
- Mix the Nutrients: Follow the instructions on your hydroponic nutrient label to mix the solution. Use the pH control kit to adjust the pH to the recommended level for your plants.
- Monitor and Maintain: Check the pH and nutrient levels weekly, topping off the water as needed to maintain consistency.
Tips for Success:
- Lighting: Ensure your plants receive enough light. Consider LED grow lights if natural light is limited.
- Temperature: Maintain an environment between 68°F to 72°F (20°C to 22°C) for optimal plant growth.
- Regular Checks: Examine your plants daily for signs of nutrient deficiencies, pests, or diseases.
- Cleanliness: Keep the system clean to prevent harmful pathogens from affecting plant health.
Conclusion:
Building a DIY hydroponic system at home is not only a fun project but also a sustainable and efficient way to grow your own fresh produce. With consistent care and attention to detail, you can enjoy homegrown herbs, vegetables, and more, all year long. Happy gardening!
Feel inspired? Share this guide with friends and start growing today!
