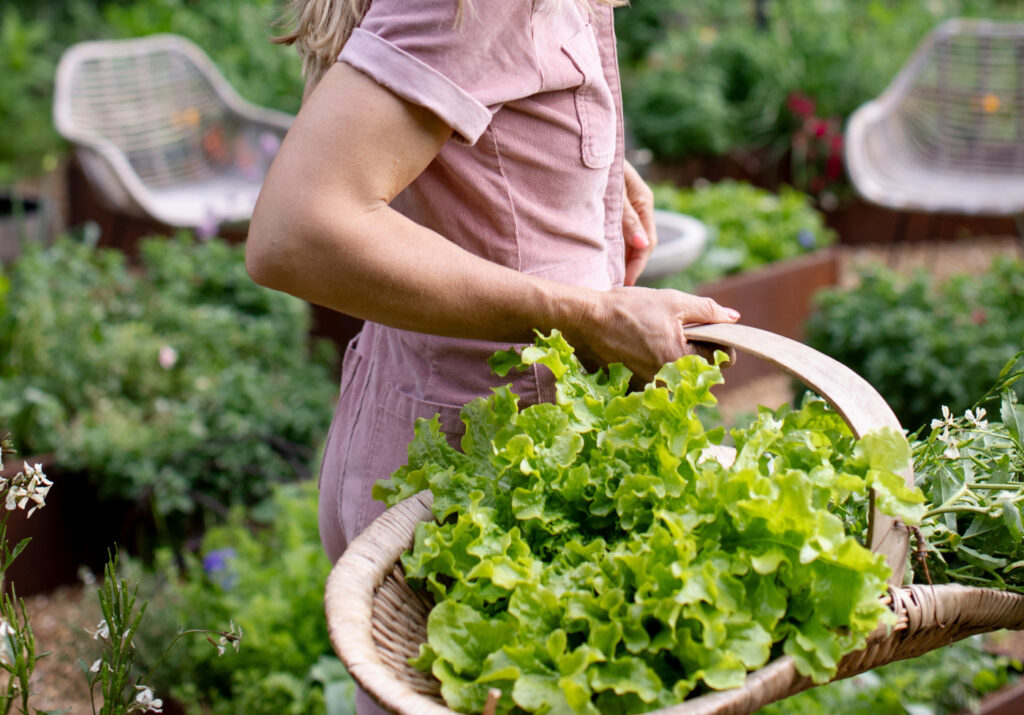
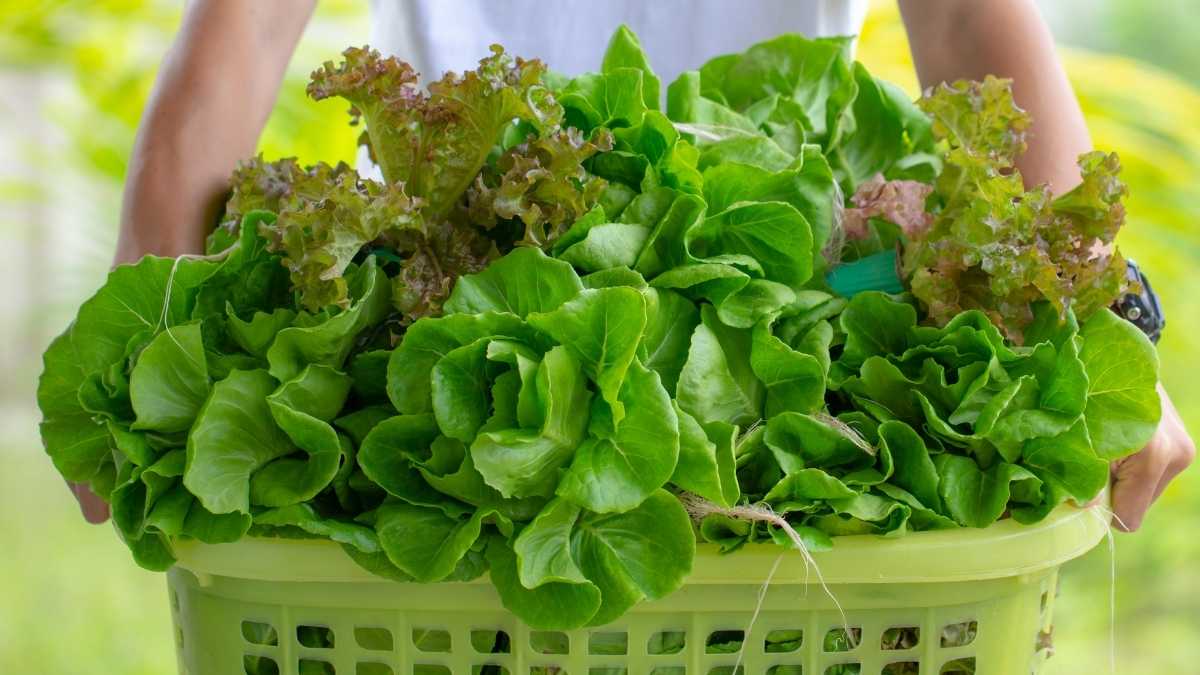
Do you love the taste of fresh, crisp lettuce but think you lack the space or know-how to grow it yourself? Think again! Growing lettuce at home in a container is not only simple but also incredibly rewarding. Whether you have a small balcony, patio, or even just a sunny windowsill, you can enjoy fresh, flavorful lettuce year-round. Here’s your ultimate step-by-step guide to creating a thriving container lettuce garden.
Step 1: Choose the Right Container
Selecting the correct container is the foundation of successful lettuce gardening. Opt for a pot that is at least 6–8 inches deep and 12–18 inches wide to give your plants ample room to grow. Containers made of plastic, clay, or wood are great options because they offer good insulation and drainage. Ensure there are drainage holes at the bottom to prevent waterlogging, which can harm your plants.
Step 2: Pick Your Lettuce Varieties
Lettuce comes in many forms—loose-leaf, romaine, and iceberg, to name a few. For container gardening, compact loose-leaf varieties like ‘Salad Bowl’ or ‘Lollo Rossa’ are ideal. These types allow for continuous harvesting and take up minimal space. Choose varieties that match your taste preferences and growing conditions.
Step 3: Prepare the Perfect Soil
Lettuce thrives in nutrient-rich, well-draining soil. Create an optimal potting mix by combining equal parts of compost, peat moss, and perlite or vermiculite. This blend retains moisture without becoming waterlogged and provides essential nutrients for healthy growth. Fill the container with soil, leaving an inch of space at the top.
Step 4: Plant Seeds or Transplants
You can grow lettuce from seeds or starter plants. For seeds, sprinkle them evenly across the soil, gently press them down, and cover with a thin layer of soil about ¼ inch deep. Water the container lightly to help settle the soil. If using transplants, dig small holes and place the seedlings, ensuring their roots are fully covered.
Step 5: Optimize Growing Conditions

Lettuce prefers cooler temperatures, ideally between 45°F and 75°F (7°C–24°C). Position your container in a location with partial sunlight, around 4–6 hours daily. If temperatures rise, move the container to a shaded area or use a shade cloth to prevent bolting (when the plant starts to flower and leaves turn bitter).
Step 6: Water Regularly and Manage Moisture
Consistent watering is key to vibrant lettuce. Keep the soil evenly moist but not soggy. Direct water at the soil’s base to avoid wetting the leaves, which can invite diseases. Mulch with straw or compost to retain moisture and regulate soil temperature.
Step 7: Feed Your Plants
Feed your lettuce regularly to encourage lush growth. Use a balanced organic fertilizer every three to four weeks, or opt for a slow-release variety for less frequent application. Be cautious not to over-fertilize, as this can lead to bitter leaves.
Step 8: Protect Against Pests and Diseases
Monitor your plants for pests like aphids, slugs, and snails. Combat infestations with natural solutions such as insecticidal soap or companion planting with pest-repellent herbs like basil or rosemary. Ensure good airflow by spacing plants properly, and rotate crops to reduce the risk of disease.
Step 9: Harvest and Enjoy
Lettuce is typically ready for harvest 4–6 weeks after planting. Start by cutting the outer leaves, leaving the inner ones to grow. This method allows for multiple harvests. Use sharp scissors or a knife to snip leaves just above the soil. Harvest continuously until the plant bolts or leaves turn bitter.
By growing your own lettuce, you’ll not only save money but also enjoy the unmatched flavor of freshly harvested greens. This simple yet rewarding endeavor can transform your meals while bringing a touch of nature into your home. Get started today and savor the fruits (or in this case, leaves) of your labor!
