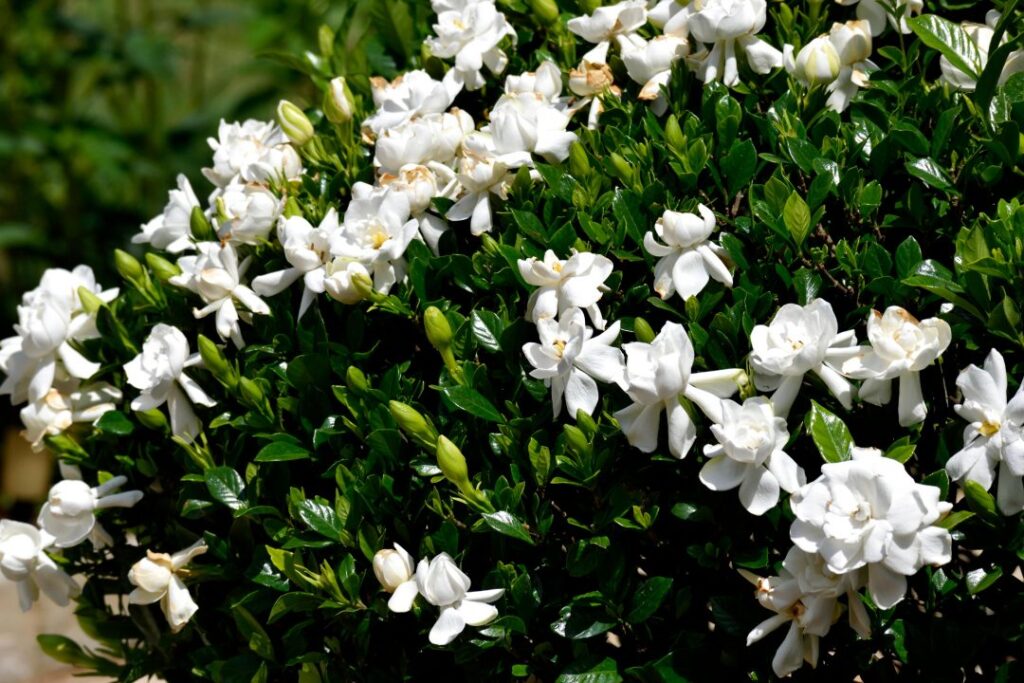
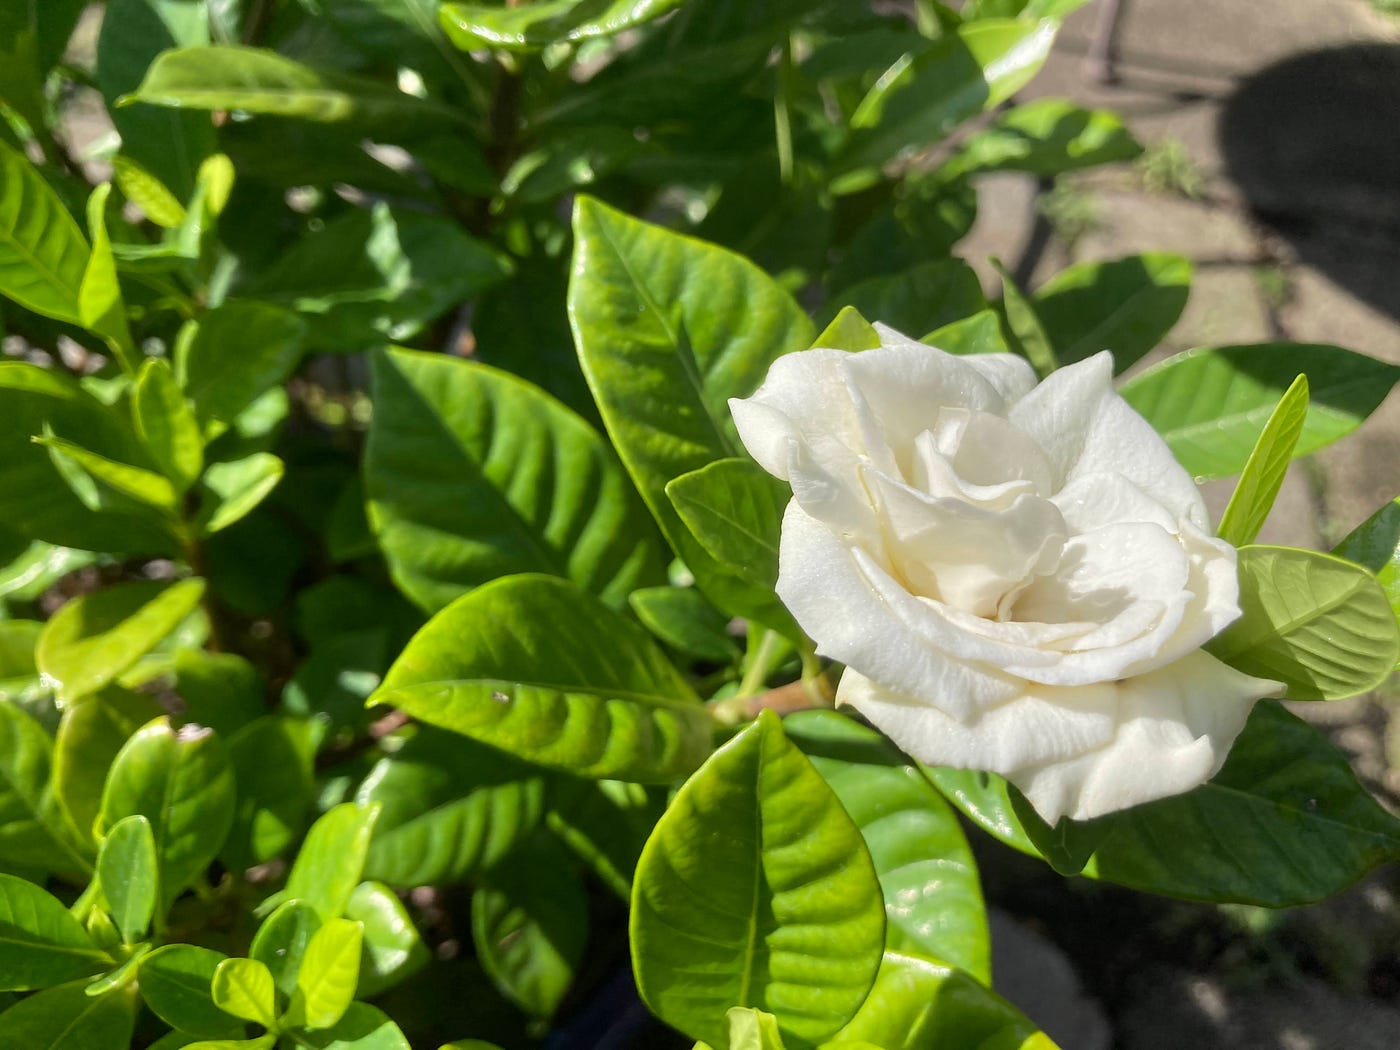
Gardenias are cherished for their exquisite white blooms and captivating fragrance. Propagating these plants from cuttings is an excellent way to expand your garden or share their beauty with others. Not only is this method cost-effective, but it also offers the rewarding experience of nurturing a plant from its infancy.
This comprehensive guide will equip you with all the knowledge you need to successfully propagate gardenias. Whether you’re a seasoned gardener or a beginner, following these clear steps will increase your chances of success.
Step 1: Gather Your Materials
To begin, ensure you have the following tools and supplies:
- Sharp garden shears or scissors
- Rooting hormone powder or gel
- Small pots with drainage holes
- High-quality potting mix
- Clear plastic bags or a propagation dome
Having these materials ready will streamline the process and set you up for success.
Step 2: Choose the Right Time
The ideal time for taking gardenia cuttings is late spring to early summer. During this period, the plant is actively growing, which enhances the likelihood of successful root development.
Step 3: Select a Healthy Mother Plant

Choose a robust gardenia plant free from disease, pests, or signs of stress. Healthy parent plants produce vigorous cuttings, which are essential for strong and flourishing offspring.
Step 4: Take the Cuttings
Using sharp, clean garden shears, cut a 4- to 6-inch stem just below a node (the area where leaves are attached). Ensure the cutting has at least two sets of leaves, as these are crucial for photosynthesis during the rooting process.
Step 5: Prepare the Cuttings
- Remove the leaves from the bottom half of the cutting to minimize water loss and redirect the plant’s energy toward root formation.
- Dip the freshly cut end into rooting hormone. This step significantly boosts the chances of successful rooting by promoting cell growth at the cut site.
Step 6: Plant the Cuttings
- Fill your pots with a high-quality potting mix.
- Make a small hole in the center of the soil and insert the cutting.
- Gently firm the soil around the base to eliminate air pockets.
- Lightly water the soil to ensure proper hydration.
Step 7: Create a Humid Environment
Cover the pot with a clear plastic bag or place it under a propagation dome. This traps moisture and creates a humid environment conducive to root growth. Make sure the covering does not touch the cutting directly, as this can lead to fungal issues.
Step 8: Provide Proper Care
Place the potted cutting in a bright spot with indirect sunlight. Avoid direct sunlight, as it can scorch the delicate cutting. Keep the soil consistently moist but not soggy. After 4-6 weeks, check for root development by gently tugging on the cutting. Resistance indicates root growth.
Step 9: Transplanting
Once the roots are well-established, the new gardenia plant is ready for transplantation. Gradually acclimate it to outdoor conditions over several days. Then, transfer it to a larger pot or your garden, ensuring it has a suitable location with partial sunlight and well-draining soil.
By following these straightforward steps, you can propagate gardenias with confidence and enjoy their elegant blooms throughout your garden. Happy gardening!
