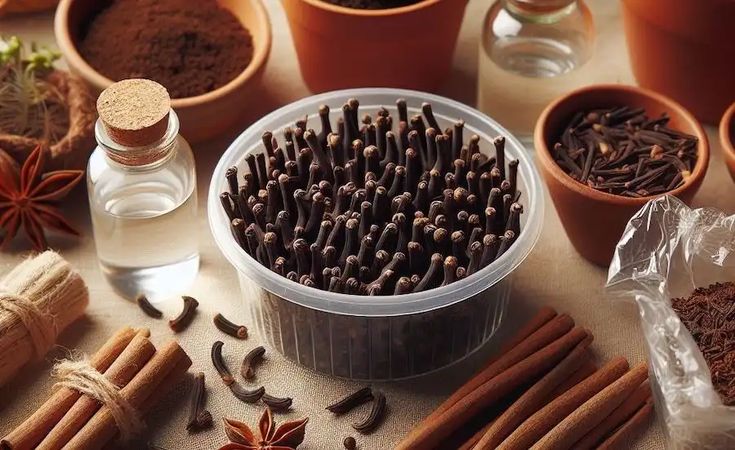
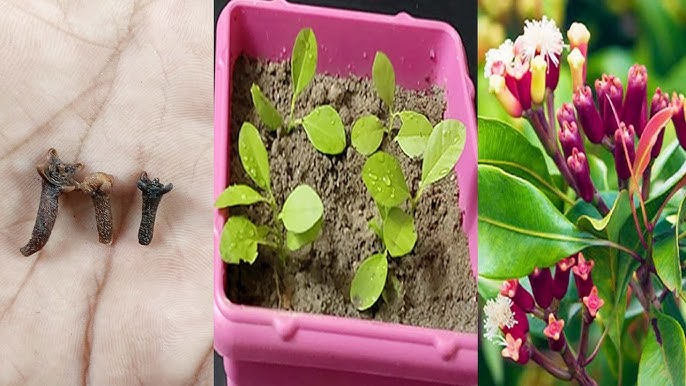
Cultivating cloves at home is a rewarding experience that takes dedication, patience, and the right approach. This guide will walk you through the process of growing clove plants—from germination to harvest—providing tips to ensure success.
Step 1: Germinating Clove Seeds
To begin, start with fresh, viable clove seeds, as they germinate best. Here’s how to prepare and sprout them:
Materials Needed:
- Fresh clove seeds (plump and undamaged)
- Small pots or seed trays
- Well-draining potting soil
- Warm water
- Plastic wrap or a transparent cover
Steps:
- Select Fresh Seeds: Choose unbroken, plump seeds for planting. The fresher the seed, the better the germination success.
- Soak the Seeds: Soak seeds in warm water for 24 hours to soften their outer shells, speeding up the germination process.
- Prepare the Pots: Fill small pots or trays with well-draining potting soil, leaving room for the seeds.
- Plant the Seeds: Place the soaked seeds about 1 inch deep in the soil. If using trays, space seeds evenly.
- Create a Greenhouse Effect: Cover the pots or trays with plastic wrap or a clear lid to retain warmth and moisture.
- Maintain Conditions: Keep the soil consistently moist (not waterlogged) and place pots in a warm spot with indirect sunlight.
- Wait for Sprouts: Germination may take several weeks. Once sprouts emerge, remove the plastic cover and provide filtered sunlight.
Step 2: Transplanting Clove Seedlings

When your seedlings develop a few sets of true leaves, they’re ready for transplanting into larger containers.
Materials Needed:
- Larger pots with drainage holes
- Rich, well-draining potting mix
- Balanced, slow-release fertilizer or organic compost
Steps:
- Transplant: Carefully move each seedling to a larger pot filled with nutrient-rich potting mix.
- Water and Fertilize: Keep the soil evenly moist and fertilize sparingly using a balanced fertilizer to encourage healthy growth.
- Provide Space: Ensure adequate space in the pot to support root expansion and growth.
Step 3: Caring for Your Clove Plant
Healthy, thriving clove plants require consistent care. Here are key tips to ensure success:
Light and Temperature:
- Cloves thrive in warm, humid environments with partial shade.
- Maintain temperatures between 60°F and 90°F (15°C to 32°C) for optimal growth.
Watering:
- Water regularly, keeping the soil moist. Allow the top inch of soil to dry slightly between waterings to prevent root rot.
Humidity:
- Clove plants need high humidity. Mist the leaves regularly or use a humidifier to mimic their natural tropical habitat.
Pruning:
- Prune periodically to encourage bushy growth and remove dead or damaged foliage.
Step 4: Harvesting Cloves
Clove plants require patience, as they take several years to mature. Here’s how to harvest and preserve your cloves:
- Timing: Cloves are ready for harvest when flower buds turn pink or reddish, just before they open.
- Drying: Collect the buds and dry them in a shaded, well-ventilated area until they harden and darken.
Final Thoughts
Growing cloves is a long-term endeavor, but the result is well worth the effort. With proper care and attention, you can enjoy your own homegrown cloves for culinary and medicinal use. Happy gardening!
