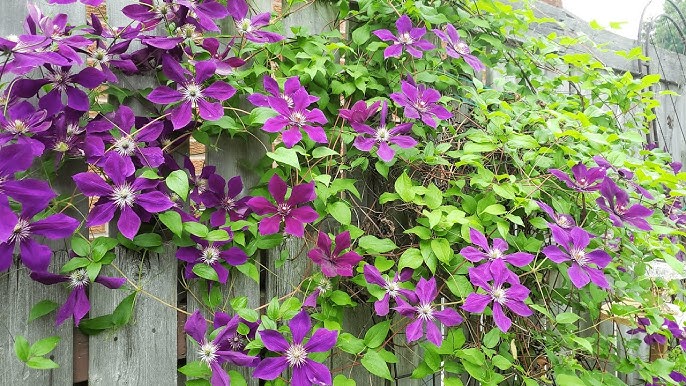
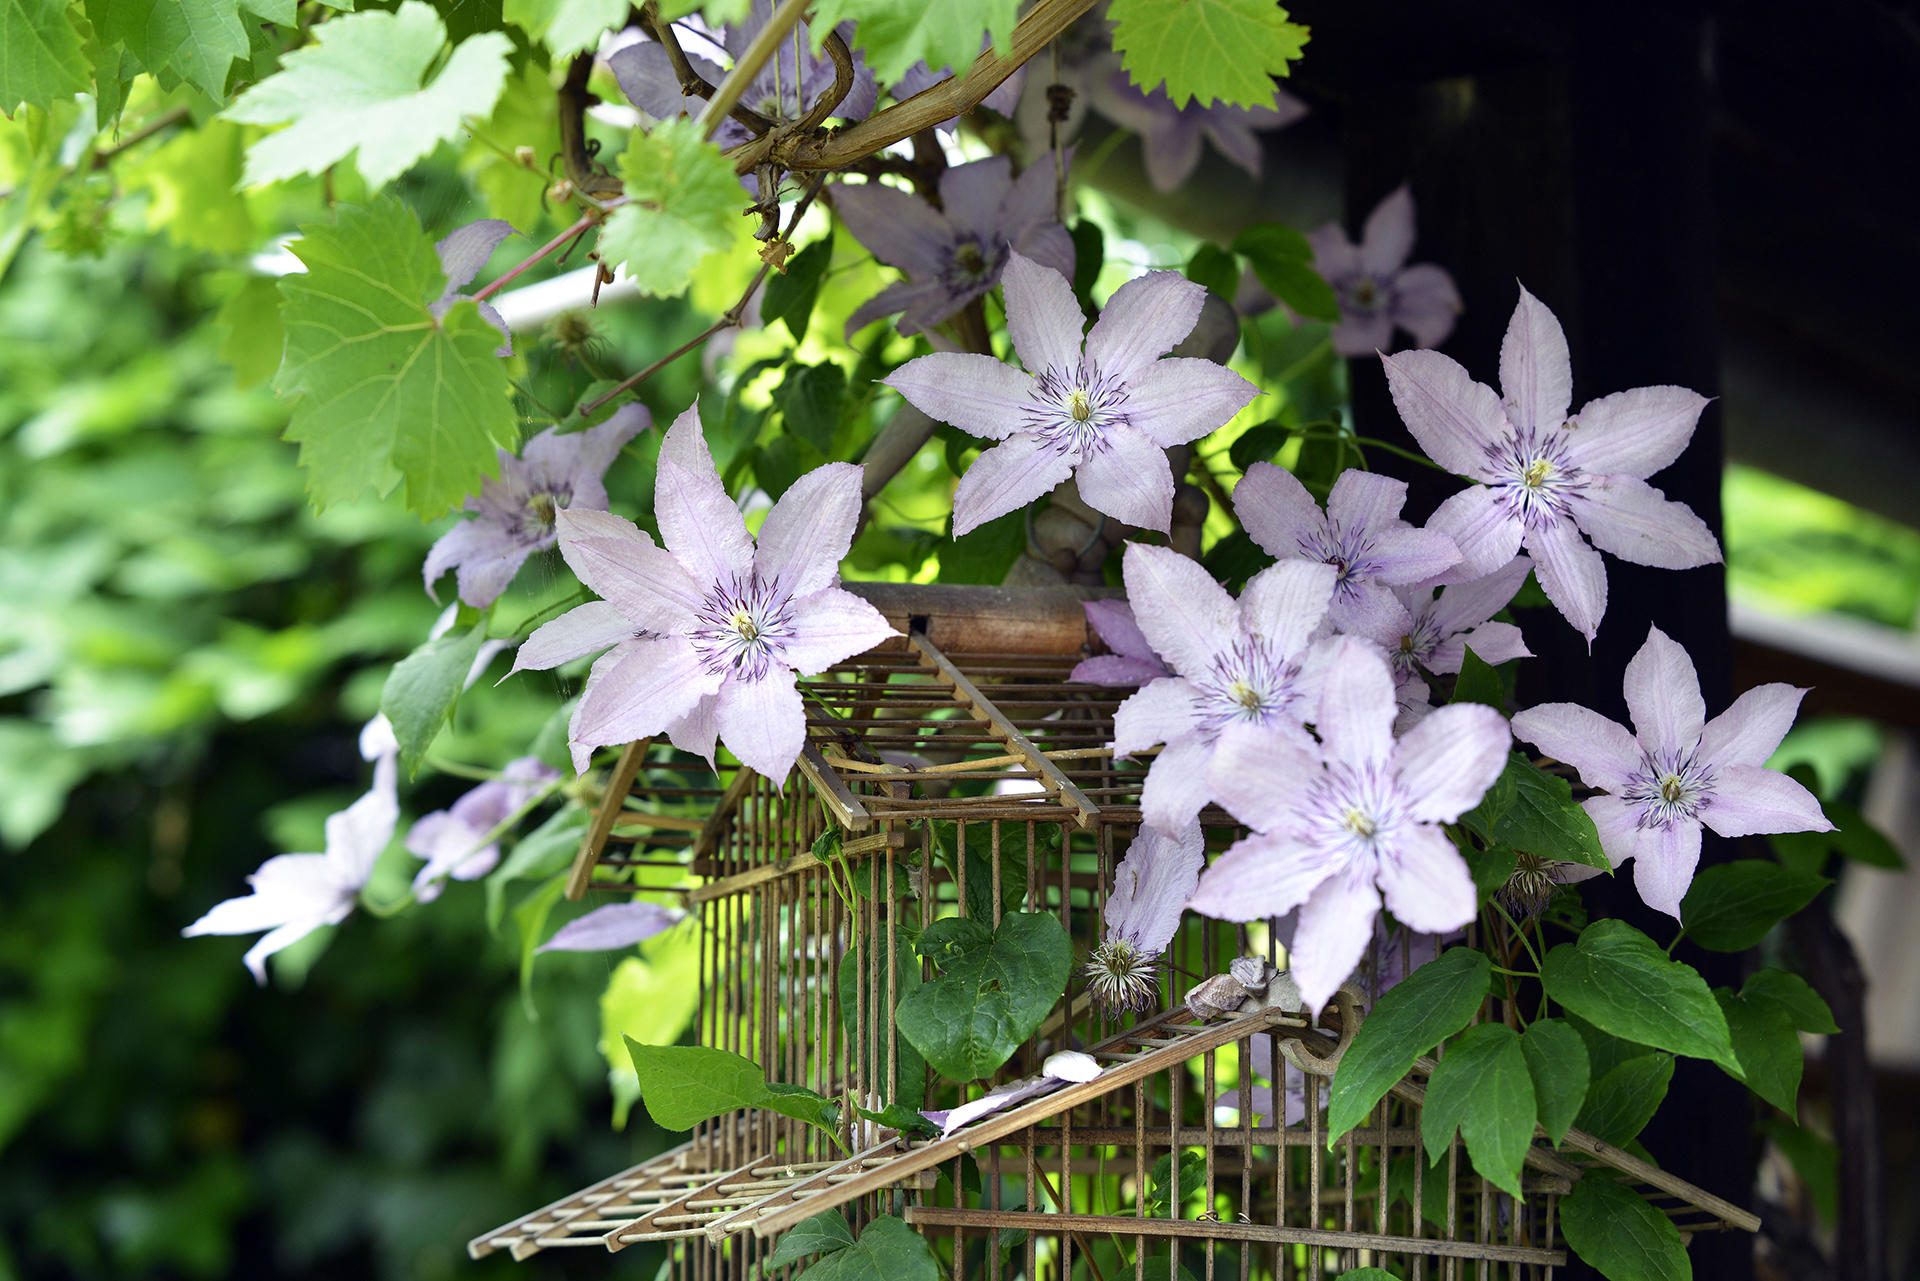
Clematis vines are renowned for their breathtaking blooms and adaptability, making them a favorite for creating stunning vertical gardens. Whether you’re looking to enhance a plain wall, fence, or sitting area, growing clematis on a trellis can transform your outdoor space into a lush, colorful haven. This guide will take you through the process of planting, training, and caring for clematis, helping you achieve a thriving, show-stopping display.
Step 1: Choosing the Right Clematis
Selecting the ideal clematis for your garden is key to long-lasting beauty:
- Flowering Season: Choose varieties based on their blooming periods, which span from early spring to late fall. This allows you to enjoy flowers throughout the growing season.
- Climate Compatibility: Match the plant to your climate zone, considering sunlight, temperature, and hardiness requirements.
- Size and Growth Habit: Clematis come in varying sizes, from compact 6-foot types to vigorous 20-foot climbers. Pick one suited to your available space and trellis design.
Step 2: Selecting the Ideal Location
A clematis thrives when planted in the right spot:
- Sunlight: Ensure the location gets at least six hours of sunlight daily. Some varieties tolerate partial shade, so check the specific needs of your chosen type.
- Shelter: Avoid areas exposed to strong winds, which can damage the delicate vines and flowers.
- Soil Quality: Use well-draining, nutrient-rich soil with added organic matter for healthy root development.
Step 3: Installing a Suitable Trellis
The right trellis provides essential support for your clematis:
- Sturdiness: Select a durable trellis capable of supporting the mature plant’s weight.
- Design: Opt for a freestanding trellis or attach one to a wall or fence, depending on your garden’s layout.
- Pre-Installation: Install the trellis before planting to prevent disturbing the roots later.
Step 4: Planting Your Clematis
Proper planting ensures strong growth:

- Digging the Hole: Make a hole twice as wide and as deep as the clematis’s container.
- Plant Positioning: Place the crown (where the stems meet the roots) 2–3 inches below soil level. This encourages new shoots and prevents diseases.
- Backfilling: Refill the hole with a mix of garden soil and compost, pressing it down gently to remove air pockets.
Step 5: Training and Pruning
Encourage growth and maintain health with these steps:
- Tying to the Trellis: Use soft ties to gently guide the stems along the trellis, avoiding damage.
- Pruning: Prune based on blooming cycles. Early bloomers should be pruned in late winter, while later bloomers are trimmed after flowering.
- Adjusting Ties: Regularly check and loosen ties during growth to prevent constriction as the vines expand.
Step 6: Ongoing Care and Maintenance
Keep your clematis healthy with consistent care:
- Watering: Maintain evenly moist soil, especially during dry spells, to support vigorous growth.
- Fertilizing: Apply a balanced fertilizer in spring and midseason to encourage robust blooms.
- Mulching: Add mulch around the base to retain soil moisture and protect roots from heat.
Conclusion
Clematis vines reward attentive care with an explosion of color and elegance. With this guide, you can transform your trellis into a vertical masterpiece that enhances your garden’s beauty and becomes the talk of the neighborhood. Whether you’re a seasoned gardener or just starting, clematis offers unmatched charm and versatility for any outdoor space.
