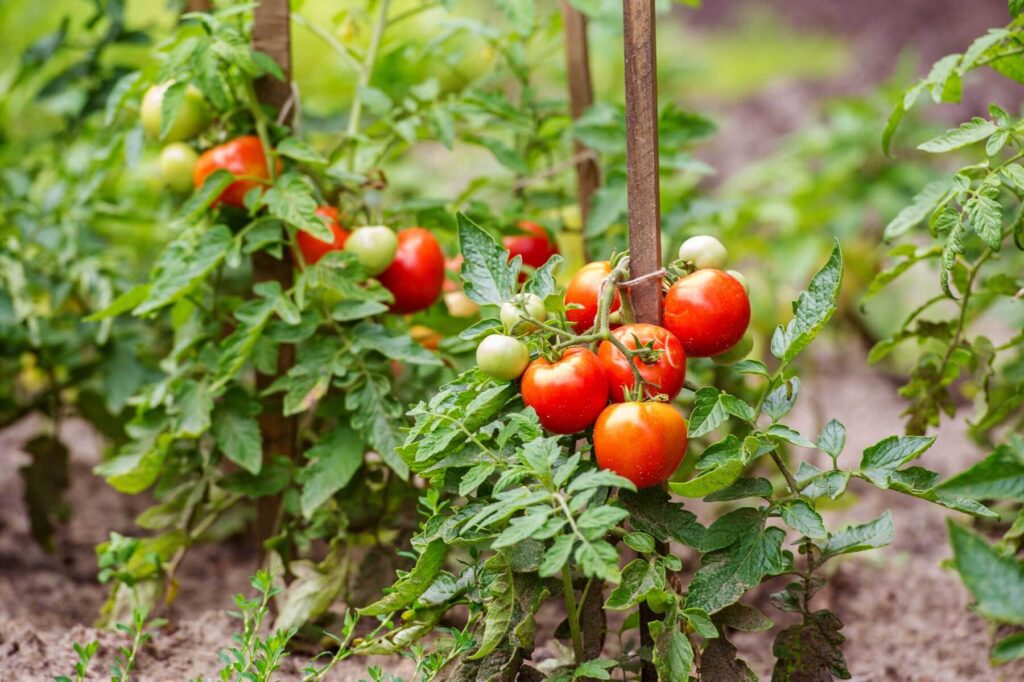
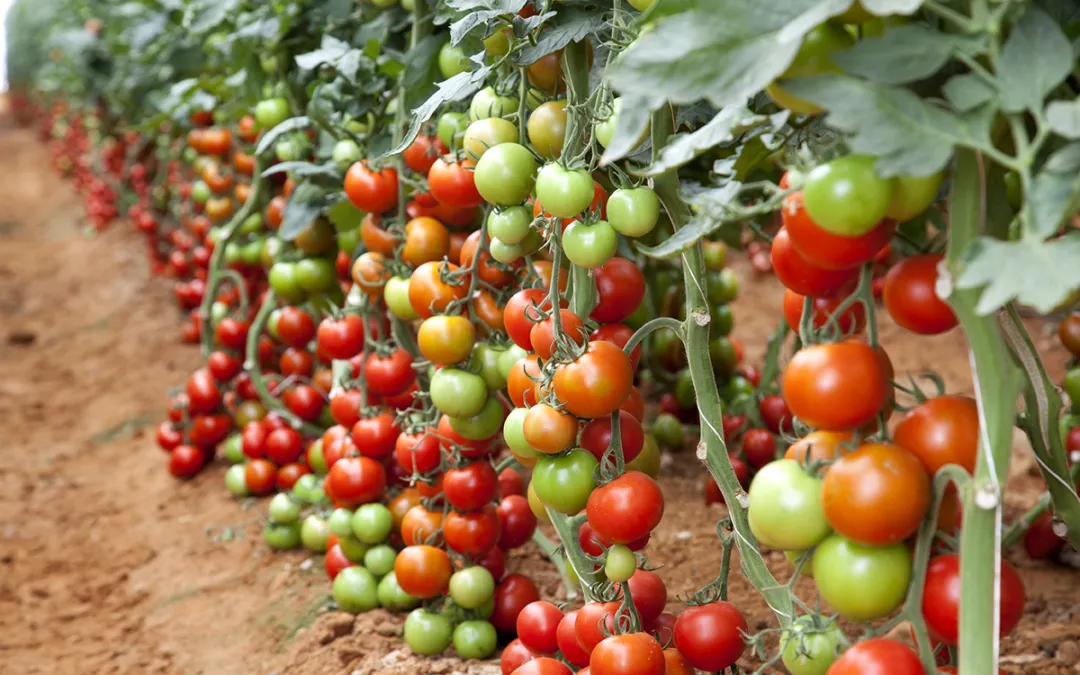
A tomato trellis is an essential support system for guiding and stabilizing tomato plants, helping them grow upright. This structure typically consists of wooden stakes or metal posts and horizontal twine or wire lines that create a climbing framework for the plants. Using a trellis is crucial for successful tomato cultivation as it improves air circulation, sunlight exposure, and plant health, while also maximizing your harvest. Here’s a simple guide to building your own tomato trellis at home.
Why Use a Tomato Trellis?
A trellis helps tomato plants grow vertically, reducing the risk of sprawling on the ground, which can save space and prevent diseases, pests, and fruit rot caused by soil contact. The improved air circulation and sunlight exposure foster stronger, healthier plants that produce more flavorful tomatoes. A sturdy trellis also supports the weight of mature plants, keeping them organized and visually appealing while boosting your harvest potential.
Materials Needed:
- Wooden stakes or metal posts (6 to 8 feet long)
- Twine or wire
- Hammer or mallet
- Gardening gloves
- Scissors or wire cutters (if using wire)
Step-by-Step Instructions:
Step 1: Gather Materials

You’ll need wooden stakes or metal posts for the main structure, twine or wire for the horizontal support lines, a hammer or mallet to secure the posts, and scissors or wire cutters for trimming. Gardening gloves are recommended for handling the materials and protecting your hands.
Step 2: Choose the Location
Select a sunny spot in your garden or raised bed that receives at least 6 to 8 hours of direct sunlight each day. Ensure the space has enough room for the number of tomato plants you intend to grow.
Step 3: Prepare the Soil
Clear the area of weeds, rocks, and debris. Loosen the soil and enrich it with compost or well-rotted manure to improve drainage and fertility. Well-prepared soil ensures healthier plants.
Step 4: Install the Main Posts
Place your stakes or metal posts at both ends of the row where you’ll plant the tomatoes. Drive them 1 to 2 feet into the ground, leaving about 4 to 6 feet above the soil to support the plants as they grow.
Step 5: Secure the Posts
Use a hammer or mallet to tap the posts into the ground securely. Make sure the posts are stable and able to withstand the weight of the plants without tipping over.
Step 6: Attach Horizontal Support Lines
Tie one end of your twine or wire to the top of the first post and stretch it tightly to the second post. Secure the line to each post, then repeat the process, spacing the lines 12 to 18 inches apart. Adjust the spacing based on the growth habits of your tomato variety.
Step 7: Plant the Tomato Seedlings
Dig holes along the row, spacing each seedling according to the variety’s recommended distance. Plant the tomatoes deep enough so the lower part of the stem is covered—tomato plants can root along their stems for stronger growth.
Step 8: Tie the Plants to the Trellis
As your tomato plants grow, gently tie the main stem to the trellis using soft plant ties or strips of cloth. Secure the plant every 6 to 8 inches along the stem, adjusting the ties as the plant grows taller.
Step 9: Prune and Train the Plants
Regularly remove side shoots, or suckers, that develop in the leaf axils to encourage a single stem and improve fruit production. Continue securing the main stem to the trellis, and guide any lateral branches as needed.
Step 10: Monitor and Maintain
Check your plants regularly for signs of pests, diseases, or nutrient deficiencies. Water consistently, ensuring the soil stays moist but not waterlogged. Fertilize as recommended for your tomato variety to promote healthy growth and a bountiful harvest.
By following these steps, you’ll create a sturdy and effective tomato trellis that will not only keep your plants upright but will also optimize their growth and fruit production. Happy gardening!
