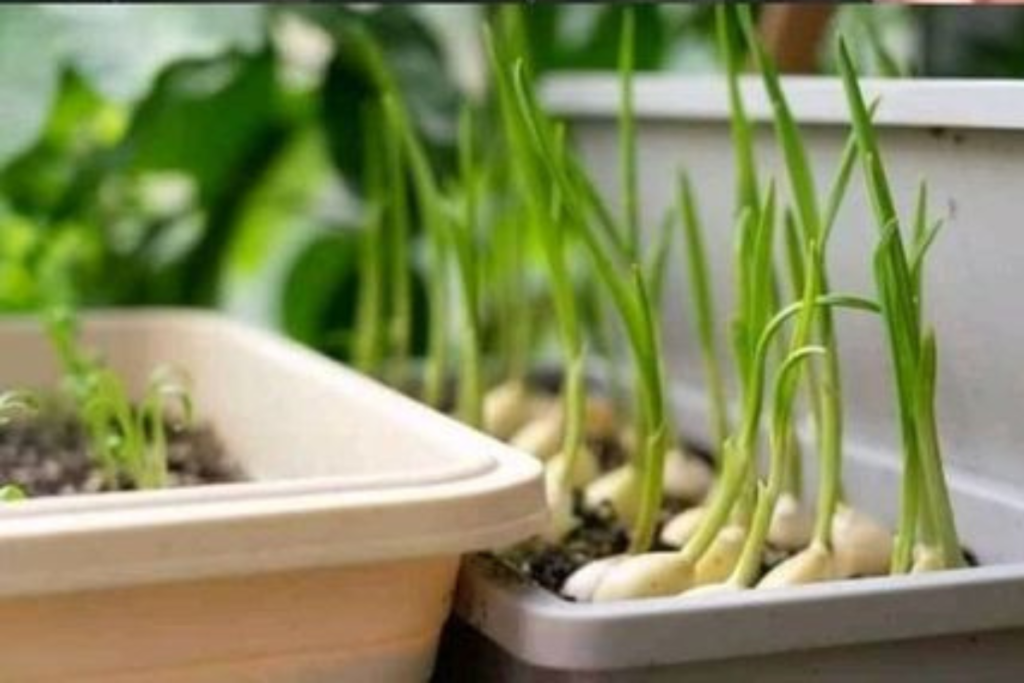
Garlic is a versatile and flavorful ingredient that enhances countless recipes, and the good news is you can grow it indoors with minimal effort. Whether you lack outdoor space or want fresh garlic greens year-round, cultivating garlic inside is a rewarding endeavor. Here’s a step-by-step guide to help you grow garlic indoors and care for it properly.
1. Choosing the Right Garlic Variety

Not all garlic varieties are the same. For indoor growing, softneck garlic is generally the best choice because it has a milder flavor, grows more quickly, and stores well. However, hardneck garlic can also thrive indoors and produces scapes (flower stalks) that can be used in cooking.
2. Preparing the Supplies
To get started, gather the following supplies:
- Garlic cloves: Purchase organic garlic from a garden center or grocery store. Avoid treated cloves, as they may not sprout.
- Pot or container: Choose a container with good drainage holes. A depth of 6-8 inches is ideal.
- Soil: Use well-draining potting soil rich in organic matter.
- Sunny location: Garlic requires plenty of light, ideally 6-8 hours of direct sunlight or supplemental grow lights.
3. Planting the Garlic
- Separate the cloves: Gently break apart a garlic bulb into individual cloves, leaving their papery skin intact.
- Prepare the container: Fill your pot with potting soil, leaving about an inch of space at the top.
- Plant the cloves: Place each clove pointy side up and root side down, about 1-2 inches deep in the soil. Space them 4-6 inches apart if planting multiple cloves in one pot.
- Water lightly: Moisten the soil without overwatering.
4. Providing Proper Care
Garlic is relatively low-maintenance, but it does require consistent care to thrive indoors. Follow these tips:
Light
- Place the pot in a sunny spot, such as a south-facing window. If natural light is insufficient, use a grow light positioned 6-12 inches above the plants.
Watering
- Keep the soil slightly moist but not soggy. Overwatering can lead to root rot, while underwatering may stunt growth.
Fertilizing
- Feed your garlic every two weeks with a balanced liquid fertilizer to encourage healthy growth.
5. Harvesting Garlic Greens
If you’re growing garlic primarily for its greens, you can start harvesting once the shoots are 6-8 inches tall. Use scissors to snip the greens, leaving about 1 inch above the soil to allow regrowth. Garlic greens have a mild garlic flavor and are excellent in salads, stir-fries, and garnishes.
6. Harvesting Garlic Bulbs
If you’re growing garlic for its bulbs, patience is key. It takes about 8-10 months for garlic to mature fully. You’ll know it’s ready to harvest when the lower leaves turn yellow and dry out. Carefully dig out the bulbs, brush off excess soil, and let them cure in a dry, well-ventilated area for a couple of weeks.
Troubleshooting Common Issues
- Yellowing leaves: This could indicate overwatering, nutrient deficiency, or insufficient light. Adjust care practices accordingly.
- Moldy soil: Improve drainage and ensure you’re not overwatering.
- Slow growth: Check if the garlic is receiving enough light and nutrients.
Final Thoughts
Growing garlic indoors is a simple and satisfying project that provides fresh, homegrown flavor for your kitchen. With the right setup and care, you’ll enjoy garlic greens in weeks and potentially full bulbs within months. Start small, experiment with different varieties, and relish the joy of harvesting your own garlic!
