Growing rice at home using store-bought brown rice is a fascinating experiment that connects you to the lifecycle of one of the world’s most important crops. While space and germination challenges may limit the yield, the process offers a rewarding experience for gardening enthusiasts or urban farmers. Follow this step-by-step guide to grow rice in a pot and gain a deeper appreciation for this staple food.
1. Choosing the Right Rice
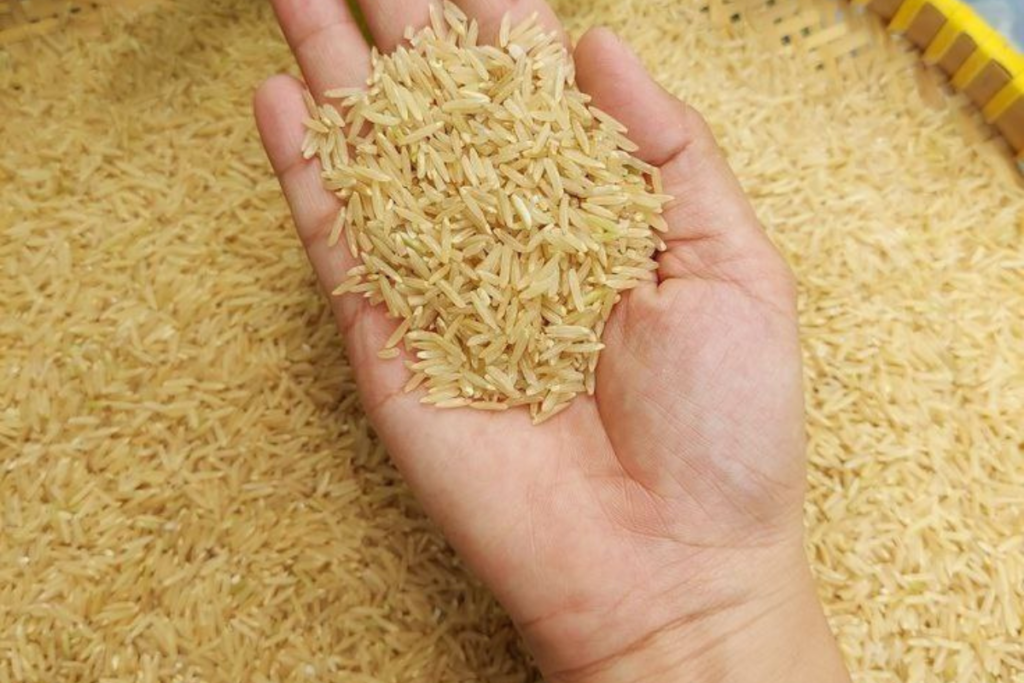
- Go Organic: Use organic brown rice, as it is untreated and retains its germ. Non-organic varieties may be chemically treated to prevent germination, and white rice is non-viable because the germ has been removed.
- Quality Matters: Select fresh brown rice to maximize the chances of successful sprouting.
2. Germinating the Rice
- Step 1: Soaking
Soak the brown rice in a bowl of water for 24 hours to hydrate the grains and initiate the germination process. - Step 2: Sprouting
After soaking, drain the water and wrap the rice in a damp cloth. Place it in a warm, dark area, ensuring the cloth stays moist. Within a few days, tiny sprouts will emerge, signaling the rice is ready for planting.
3. Preparing the Pot
- Pot Size: Choose a deep container at least 12 inches deep to accommodate the rice plant’s extensive roots.
- Drainage: Ensure the pot has proper drainage holes to prevent waterlogging.
- Soil Mix: Use a mix of loose, well-draining potting soil and compost for optimal growth conditions.
4. Planting the Sprouted Rice
- Planting Depth: Bury each sprouted grain about 1 inch deep in the soil.
- Spacing: Space grains 4-6 inches apart to give the plants enough room to grow.
- Moisture: Water the soil thoroughly after planting to settle the grains.
5. Watering
Rice thrives in wet conditions.

- Initial Growth: Water the plants like other potted plants until they reach about 4 inches in height.
- Flooded Conditions: Once the plants are established, maintain 2-4 inches of standing water above the soil. This mimics the natural paddy environment. If growing indoors, ensure proper ventilation to prevent mold growth.
6. Providing Light
- Sunlight: Place the pot in a location with 6-8 hours of direct sunlight daily. If natural light is insufficient, use grow lights to provide the necessary illumination.
- Warmth: Rice prefers a warm climate, so keep the pot in a temperature-controlled area if needed.
7. Caring for Your Rice Plants
- Fertilization: Feed your plants with a balanced fertilizer once a month to promote healthy growth.
- Pest Control: Watch for pests like aphids and snails, as well as fungal diseases. Address any infestations promptly using organic pest control methods.
- Growth Timeline: Rice takes approximately 3-5 months to mature.
8. Harvesting Your Rice
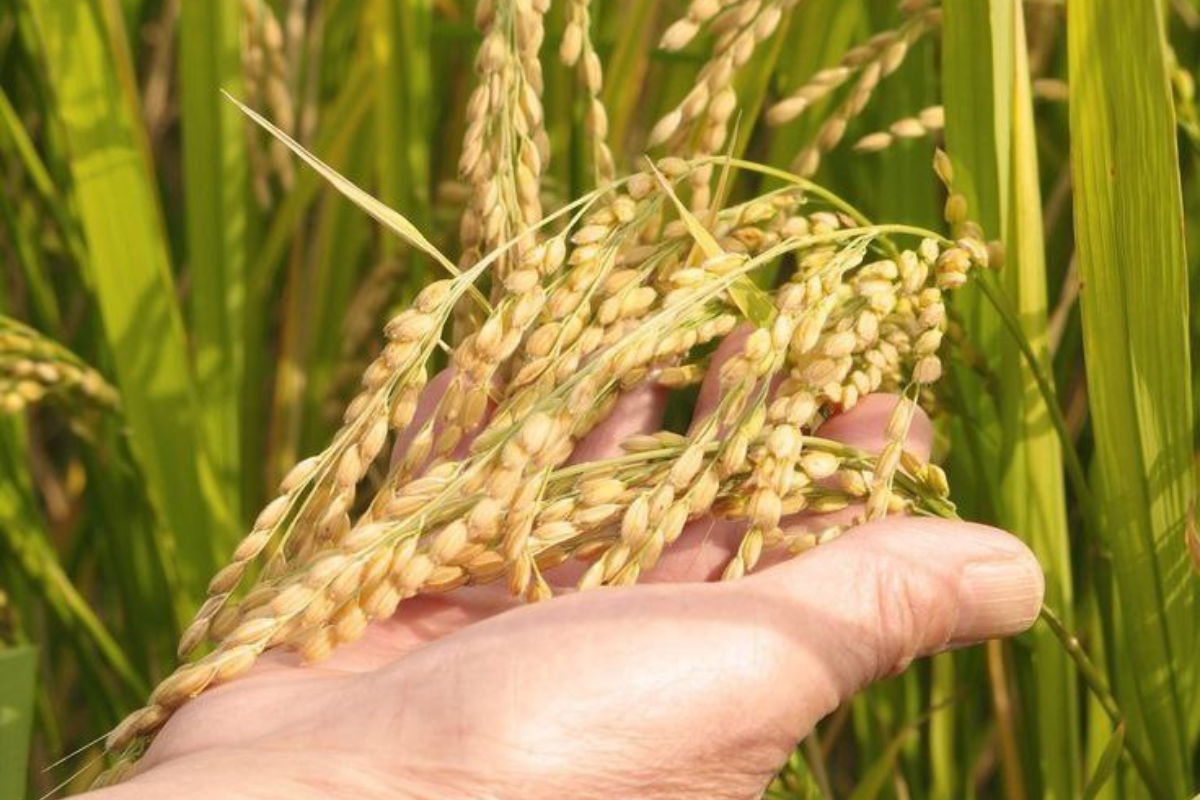
- Maturity Signs: When the plants turn golden brown and the grains feel firm, they are ready for harvest.
- Harvest Process: Cut the stalks and allow them to dry in a warm, dry area for 1-2 weeks.
- Threshing: Once dried, gently separate the grains from the husks by hand or using a simple threshing method.
9. Storing Your Harvest
- Storage Tips: Store the harvested rice in an airtight container in a cool, dry place to maintain its freshness. This ensures the rice remains viable for cooking or planting.
Final Thoughts
Growing rice from store-bought brown rice is more than just a gardening project—it’s an educational journey into sustainable food cultivation. While you won’t achieve large-scale production, the process allows you to observe firsthand how rice grows and matures. It’s an engaging way to enhance your gardening skills and add a unique touch to your homegrown produce collection. Give it a try and enjoy the satisfaction of nurturing your own rice plants!
