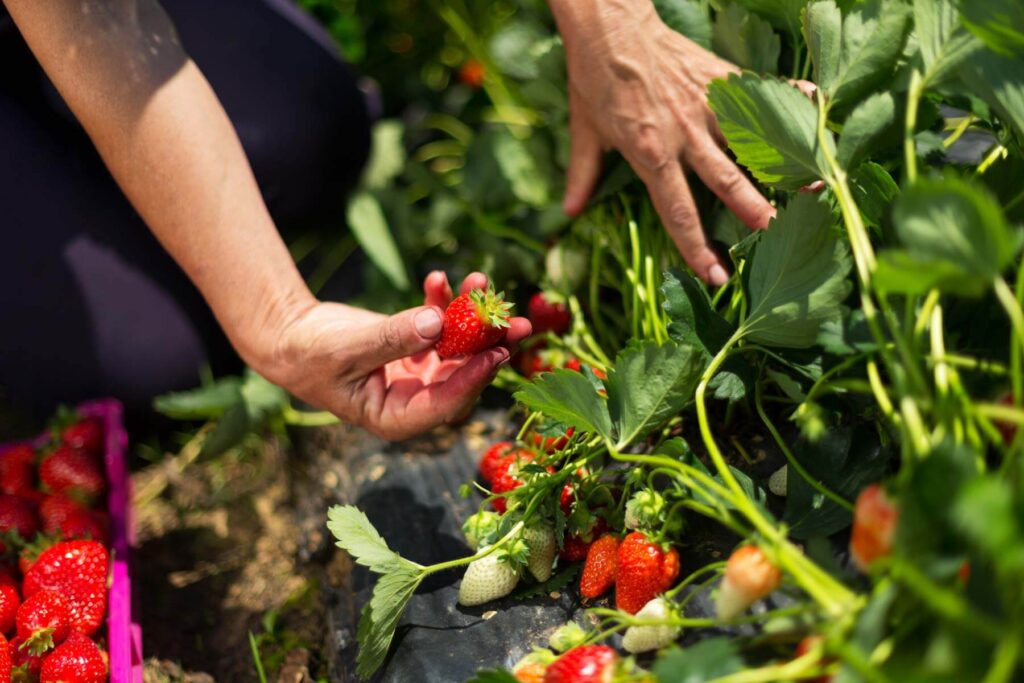
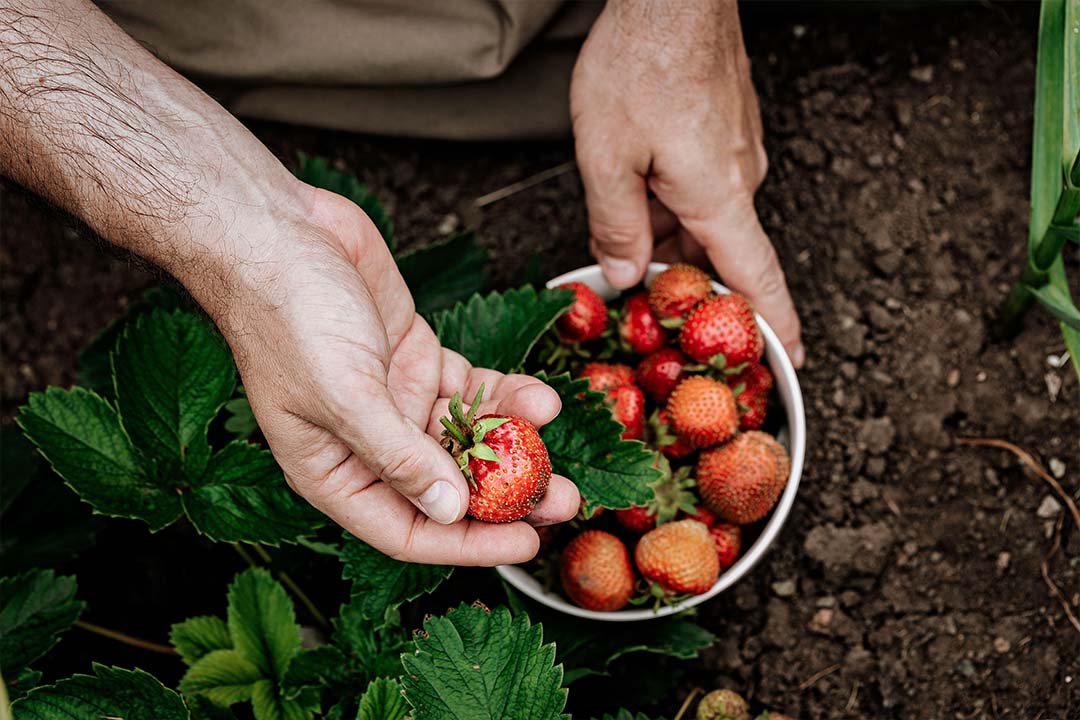
Craving fresh, juicy strawberries but don’t have room for a large garden? No problem! Growing strawberries in a planter is an easy and space-saving solution that brings the taste of homegrown fruit to your doorstep. Whether you have a balcony, patio, or a small yard, a planter makes it possible to enjoy strawberries with minimal space. Follow this simple guide to cultivate your own strawberry plants and indulge in the delicious rewards of your effort.
Step 1: Choose the Right Planter
Select a planter that is at least 12 inches deep. This depth allows strawberry plants enough room for their roots to grow. Ensure the planter has drainage holes to prevent water from collecting at the bottom, which can lead to root rot.
Step 2: Select the Best Strawberry Variety
Different strawberry varieties thrive in different climates. Some common options include:
- June-bearing strawberries: Produce a large harvest all at once, typically in late spring to early summer.
- Everbearing strawberries: Produce two to three harvests throughout the growing season.
- Day-neutral strawberries: Produce fruit continuously throughout the growing season, regardless of day length. Choose a variety that suits your climate and harvest preferences.
Step 3: Prepare the Soil
Strawberries need well-draining soil. Use a high-quality potting mix, or create your own blend with garden soil and compost. Avoid heavy clay soil, as it retains too much moisture. A loose, airy mix ensures the roots can grow easily and receive enough oxygen.
Step 4: Plant the Strawberries

Place your planter in a sunny location that receives at least six hours of direct sunlight daily. Fill the planter with your prepared soil, leaving about an inch from the rim. Space the strawberry plants about 12 inches apart to give them room to spread. When planting, ensure the crowns (where the leaves meet the roots) are level with the soil’s surface.
Step 5: Water Regularly
After planting, water the strawberries thoroughly to help them settle in. Keep the soil consistently moist, but avoid overwatering, which can cause root rot. Water regularly, especially during hot or dry spells. To prevent disease, water at the base of the plant rather than overhead.
Step 6: Feed the Plants
Strawberries are hungry plants that require regular feeding. Use a balanced, slow-release fertilizer or apply a liquid fertilizer every two to three weeks. This will help boost growth and encourage fruit production. Follow the fertilizer’s instructions carefully to avoid overfeeding.
Step 7: Mulch the Soil
Apply mulch around your strawberry plants to help retain moisture, suppress weeds, and keep the fruit clean. Straw, shredded leaves, or wood chips work well as mulch. Be sure to leave space around the plant crowns to avoid rot.
Step 8: Monitor for Pests and Diseases
Regularly check your strawberry plants for pests, such as aphids or slugs, and signs of disease, like fungal spots. If you notice any issues, take action promptly. Organic pest control methods, like neem oil or insecticidal soap, can help manage common problems.
Step 9: Encourage Pollination
Most strawberry varieties are self-pollinating, but gently brushing the flowers with a soft paintbrush or your finger can help ensure better pollination. This simple action can increase your fruit yield.
Step 10: Harvest the Strawberries
When the berries are fully red and ripe, it’s time to harvest. Gently pick the strawberries by the stem, being careful not to damage the fruit. Enjoy the fresh, sweet taste of your homegrown strawberries!
By following these simple steps, you can enjoy a thriving strawberry planter in your own home, no matter the size of your space. With a little attention, your strawberries will reward you with a delicious, homegrown harvest. Happy gardening!
