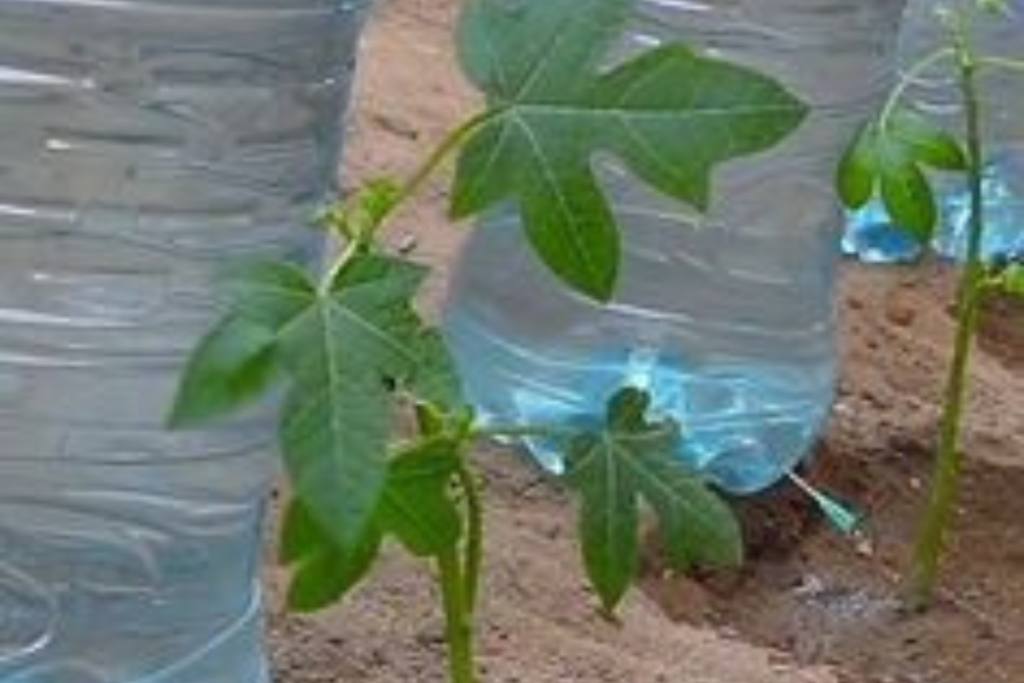
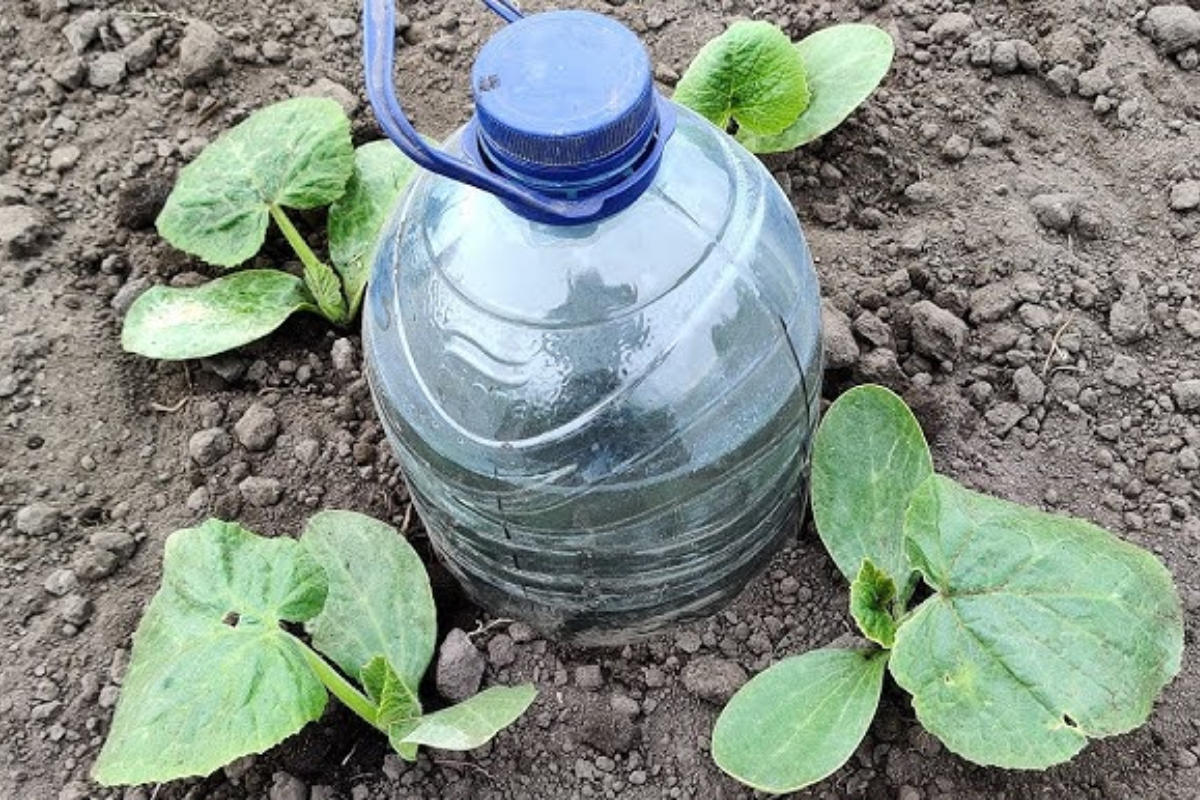
Maintaining a vegetable garden can be both rewarding and challenging, especially when it comes to consistent watering. Vegetables like tomatoes require a steady water supply for optimal growth, but overwatering or wetting the foliage can lead to diseases and water wastage. If you’re looking for a simple, cost-effective solution to keep your plants hydrated, crafting an automatic waterer using a plastic bottle is a game-changer!
This easy DIY method ensures your vegetables get the moisture they need directly at the root level, making your gardening routine more efficient and eco-friendly.
Step-by-Step Guide to Crafting a Bottle Waterer
- Choose the Right Bottle
Select an empty plastic bottle (e.g., water or soda bottle) to repurpose. This not only reduces waste but also gives the bottle a second life in your garden. A 1-2 liter bottle works well for most vegetable plants. - Puncture Small Holes
Use a sharp knife or a heated needle to create small holes around the sides of the bottle. These holes should be evenly spaced to allow water to seep out slowly. Ensure the holes are small enough to regulate the water flow and prevent quick drainage. - Bury the Bottle
Dig a small hole in the soil near your vegetable plant. Place the bottle upright in the hole, ensuring that the neck remains slightly above the soil surface for easy refilling. Pack the soil around the bottle to hold it securely in place. - Fill the Bottle with Water
Pour water into the bottle through the neck. The water will slowly drip out through the holes, keeping the soil around the roots moist and hydrated without over-saturating it.
Benefits of the Bottle Waterer

- Root-Focused Hydration
This method delivers water directly to the roots, where plants need it most, reducing the risk of fungal diseases caused by wet foliage. - Water Conservation
The slow-drip system minimizes water wastage, making it an eco-friendly solution for your garden. - Low Maintenance
Once installed, the bottle waterer reduces the frequency of manual watering, saving you time and effort. - Stress-Free Gardening
Your plants will remain consistently hydrated, even during hot days or when you’re away, preventing drought stress and ensuring healthy growth.
Pro Tips for Maximum Efficiency
- Install During Planting
Place the bottle in the ground when planting your vegetables to avoid disturbing established roots later. - Terracotta Alternative
For a more sustainable option, consider using a terracotta pot instead of a plastic bottle. Terracotta’s porous nature allows water to seep out naturally without the need for holes. This method works especially well for indoor plants and eco-conscious gardeners. - Check for Clogs
Regularly inspect the holes to ensure they aren’t clogged with soil or debris. You can clean them with a toothpick if needed.
Why This DIY Method Works
An automatic waterer is an effective way to provide consistent moisture to your vegetable garden. Whether you’re growing tomatoes, peppers, or leafy greens, maintaining steady soil moisture is crucial during their developmental stages. This simple system ensures that your plants are neither underwatered nor overwatered, fostering a healthier garden with higher yields.
Conclusion
Crafting an automatic vegetable waterer using a bottle is an easy, affordable, and sustainable solution for gardeners of all skill levels. By directing hydration to the roots, you’ll improve water efficiency, save time, and promote healthier plant growth. Try this technique in your garden today and watch your vegetables thrive with minimal effort!
