Gardenias are prized for their fragrant white flowers and lush green foliage, making them a favorite among gardeners. If you want to expand your garden or share these beautiful plants with friends, propagating gardenias from cuttings is an efficient and rewarding method. This guide will take you through the step-by-step process of propagating gardenias successfully.
Why Propagate Gardenias from Cuttings?
Propagating gardenias from cuttings has several advantages:
- Faster Growth: Cuttings establish quicker than growing from seeds.
- Genetic Consistency: The new plants will be identical to the parent plant, preserving desired traits.
- Cost-Effective: It saves money compared to buying new plants from nurseries.
- Better Success Rate: Compared to other propagation methods, cuttings have a higher likelihood of rooting successfully.
Best Time to Take Gardenia Cuttings
The best time to take cuttings is in late spring or early summer, when the plant is actively growing. This ensures that the cuttings have enough time to develop strong roots before winter.
Materials Needed
To propagate gardenias successfully, gather the following materials:
- Sharp, sterilized pruning shears or scissors
- Small pots or seedling trays
- Well-draining potting mix (preferably with peat moss and perlite)
- Rooting hormone powder or gel
- Transparent plastic bags or a humidity dome
- Spray bottle with water
- Labels for tracking plant progress
Step-by-Step Guide to Propagating Gardenias
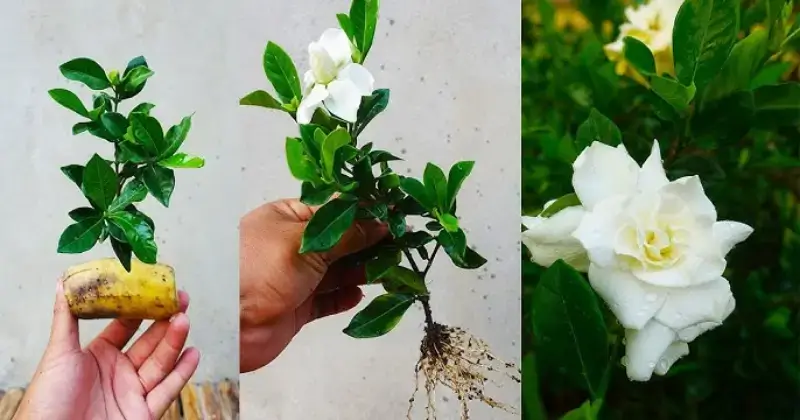
1. Selecting and Cutting the Stem
- Choose a healthy, non-flowering stem that is 4-6 inches long.
- Cut just below a leaf node (the area where a leaf joins the stem) at a 45-degree angle.
- Remove leaves from the lower half of the cutting.
2. Applying Rooting Hormone
- Dip the cut end of the stem into rooting hormone powder or gel to encourage faster root development.
- Shake off any excess powder to avoid over-application.
3. Preparing the Pot and Soil
- Fill a small pot with a well-draining soil mix (peat moss, perlite, and vermiculite work well).
- Moisten the soil lightly before inserting the cutting.
4. Planting the Cutting
- Make a small hole in the soil using a pencil or finger.
- Insert the cutting about 1-2 inches deep into the hole.
- Gently press the soil around the cutting to secure it in place.
5. Creating the Right Humidity Conditions
- Cover the pot with a plastic bag or place it under a humidity dome.
- Ensure the plastic does not touch the cutting by using small sticks for support.
6. Providing Optimal Growing Conditions
- Light: Place the pot in indirect sunlight or a bright location with filtered light.
- Temperature: Keep the environment between 70-75°F (21-24°C).
- Watering: Mist the cutting regularly, but avoid waterlogging the soil.
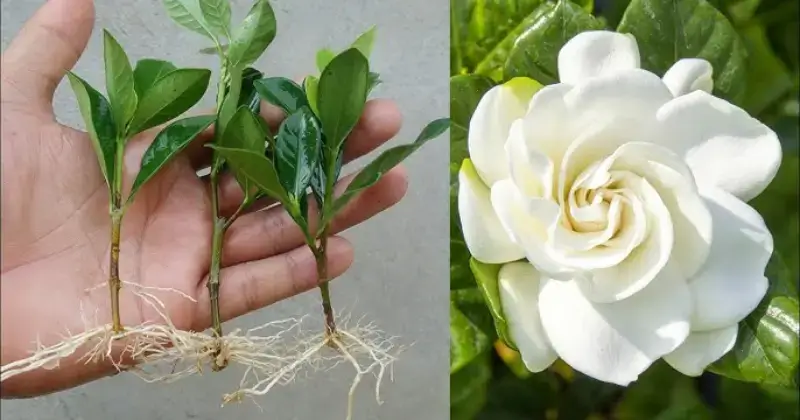
7. Monitoring Root Development
- Roots should begin forming within 4-6 weeks.
- Gently tug the cutting after 4 weeks to check for resistance, indicating root growth.
- If roots are established, gradually acclimate the plant to normal humidity levels by removing the plastic cover for short periods each day.
8. Transplanting the Rooted Cutting
- Once the roots are at least 2 inches long, transplant the young plant into a larger pot or directly into the garden.
- Choose well-draining soil and continue providing partial shade until the plant is strong enough to tolerate full sun.
Common Issues and Troubleshooting
Yellowing Leaves
- Cause: Overwatering or poor drainage.
- Solution: Reduce watering and ensure the soil drains well.
Wilting Cuttings
- Cause: Lack of humidity or excessive heat.
- Solution: Maintain proper humidity by misting regularly and keeping cuttings in a shaded area.
No Root Growth After 6 Weeks
- Cause: Cutting taken from an unhealthy plant or incorrect propagation conditions.
- Solution: Try a new cutting and ensure optimal soil, humidity, and temperature conditions.
Discover more articles about gardening and pruning for your garden and your plants
Frequently Asked Questions
How long does it take for gardenia cuttings to root?
Most gardenia cuttings root within 4-6 weeks, but it can take longer depending on environmental conditions.
Can I propagate gardenias in water?
Yes, gardenia cuttings can be rooted in water, but soil propagation is generally more successful in the long term.
Do gardenia cuttings need direct sunlight?
No, gardenia cuttings thrive best in indirect sunlight. Direct sun can cause excessive moisture loss and stress the cutting.
Conclusion
Propagating gardenias from cuttings is a cost-effective and rewarding way to expand your garden. By following this step-by-step guide, you can successfully grow healthy gardenia plants that will enhance your landscape with their beauty and fragrance.
If you found this guide helpful, share it with fellow garden enthusiasts or check out more tips on successful plant propagation.