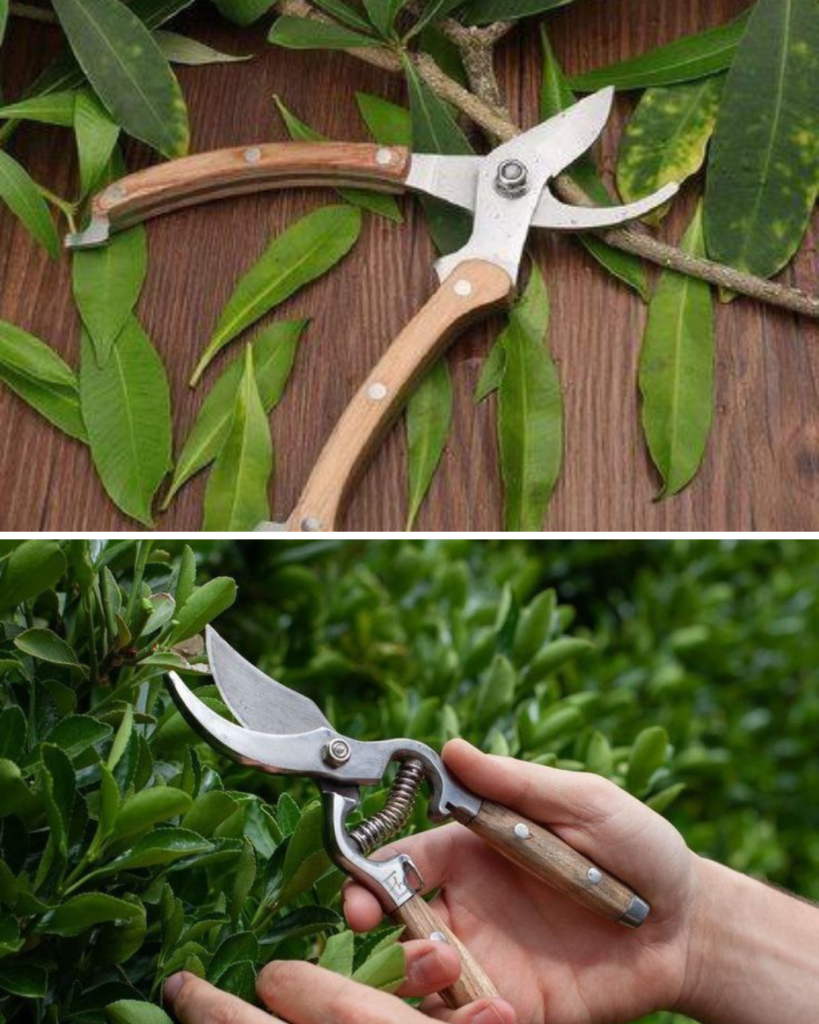
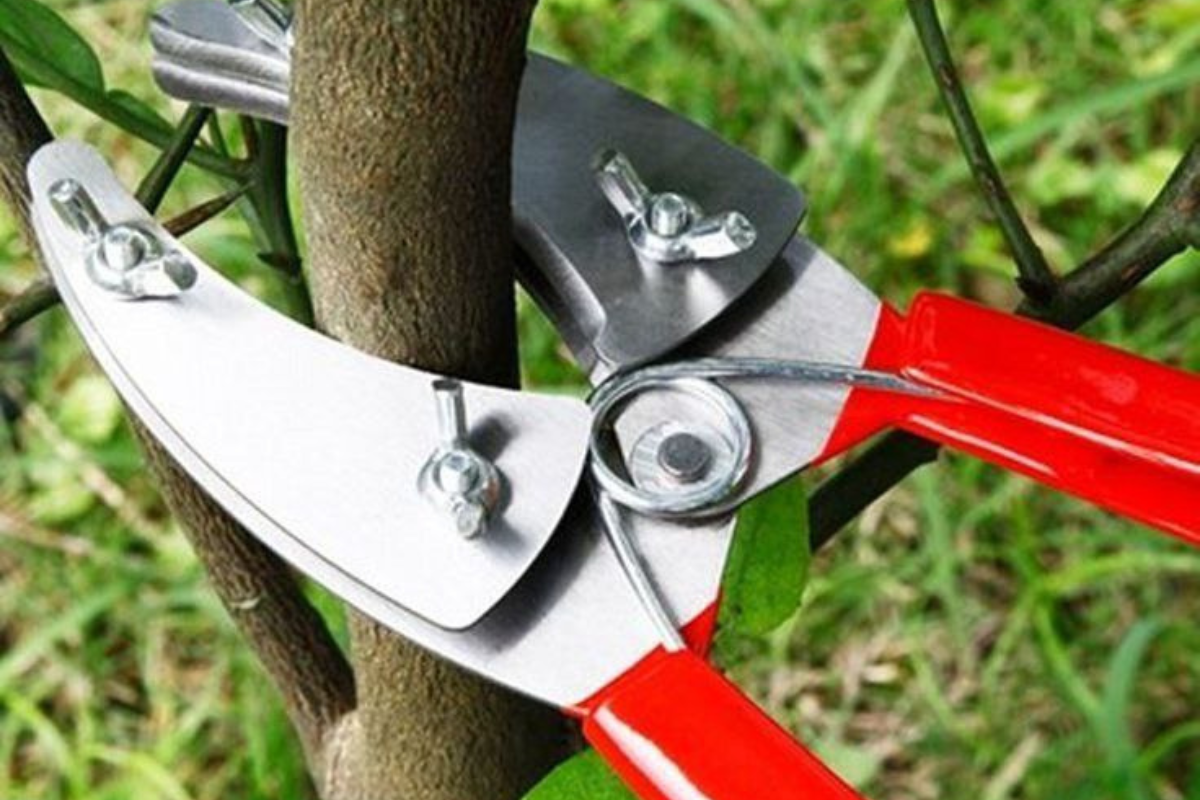
Maintaining sharp pruning shears is essential for efficient gardening. Dull or rusty shears can make tasks harder and damage plants. Fortunately, sharpening your pruning shears at home is simple with a diamond hand file, some basic cleaning tools, and proper safety measures. Here’s a step-by-step guide to clean, sharpen, and protect your shears.
Step 1: Protect Yourself
1. Wear protective gloves.
Before handling sharp tools, put on heavy-duty gardening gloves. Leather gloves are ideal for shielding your hands from cuts while cleaning and sharpening.
2. Use safety goggles.
Protect your eyes with safety goggles or glasses. This prevents small metal shards or rust particles from causing injuries during sharpening.
3. Address injuries promptly.
Accidents happen. If you cut yourself while handling your shears, clean the wound thoroughly and seek medical attention if necessary.
Step 2: Clean the Shears
Proper cleaning is crucial before sharpening to ensure smooth filing and prevent further rusting.
1. Wash with warm, soapy water.
Fill a sink or container with warm water and a few teaspoons of dish soap. Use a stiff brush to scrub away dirt, plant residue, and debris from both blades.
2. Rinse thoroughly.
Remove soap residue by rinsing each blade with clean, cool water. Check to ensure no debris or soap remains.
3. Dry the blades completely.
Use a thick towel to wipe each blade dry. Be cautious to avoid cuts during this step.
4. Remove rust.
Inspect the blades for rust spots. Use medium-coarse steel wool to buff away the rust gently. After buffing, rinse the blades again and dry them with a towel to prepare for sharpening.
Step 3: Sharpen the Blades
Sharpening restores the cutting efficiency of your pruning shears. Follow these steps for precision:
1. Secure the shears in a bench vise.
Open the shears wide and place the beveled cutting edge facing you. Use a bench vise to hold the shears securely. This ensures stability and safety while sharpening.
2. Position the file correctly.
Choose a medium or coarse diamond hand file. Align the file at the same angle as the blade’s bevel to maintain its original edge during sharpening.
3. File with smooth strokes.
Draw the file along the blade’s contour in one smooth motion, moving from the base to the tip and away from your body. Apply moderate pressure and maintain a consistent angle throughout each stroke.
4. Create a sharp edge.
Continue filing until the blade has a sharp, clean edge. This typically takes 10–20 strokes per blade and a few minutes of focused effort. For bypass or anvil pruners, only sharpen the beveled blade; for other types, repeat the process for both blades.
5. Remove burrs.
After sharpening, flip the shears over and use the file to smooth out any burrs on the backside of the blade with a few light strokes.
6. Apply linseed oil.
Finish by coating the blades with linseed oil to protect against rust. Use a soft cloth to apply the oil evenly, ensuring the blades are fully covered. Store the shears in a dry place until their next use.
Final Thoughts

With proper cleaning, sharpening, and care, your pruning shears will remain efficient and durable for years. Regular maintenance not only prolongs their lifespan but also makes gardening easier and safer.
Things You’ll Need:
- Heavy-duty gloves
- Safety goggles
- Dish soap and water
- Stiff brush
- Towel
- Steel wool
- Diamond hand file (medium or coarse)
- Linseed oil
Keep your tools in top shape, and they’ll reward you with precision and reliability for all your gardening needs!
