Featured
Your Spring Vegetable Garden: A No-Nonsense Planting Schedule
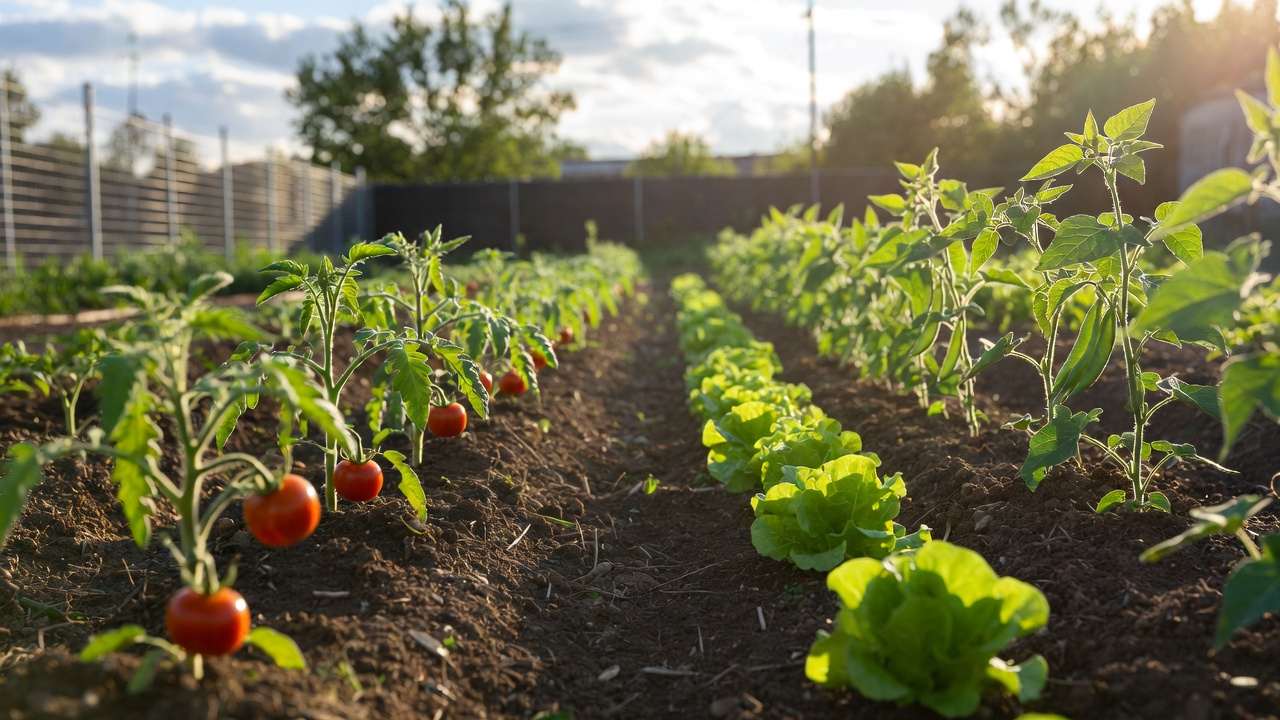
Timing matters more than talent in vegetable gardening. Plant cool-season crops like kale, carrots, and radishes four to six weeks before last frost. Wait on tomatoes, peppers, and squash until soil hits 60°F. We mapped out the full schedule so you don't have to guess.
Latest Articles
Container Gardening: Grow a Full Harvest on Your Patio
No yard? No problem. A five-gallon bucket grows a full tomato plant. A window box handles herbs all summer. Here are the best containers, soil mixes, and varieties for small-space growing.
Why You Should Test Your Soil Before Planting Anything
Most garden problems start underground. A fifteen-dollar soil test tells you exactly what nutrients are missing and what your pH is. Stop guessing and start growing with data.
Seed Starting Indoors: The Complete Beginner Walkthrough
All you need is a sunny window, some seed trays, and basic potting mix. Start eight weeks before your last frost date. We cover timing, watering, light needs, and when to transplant.
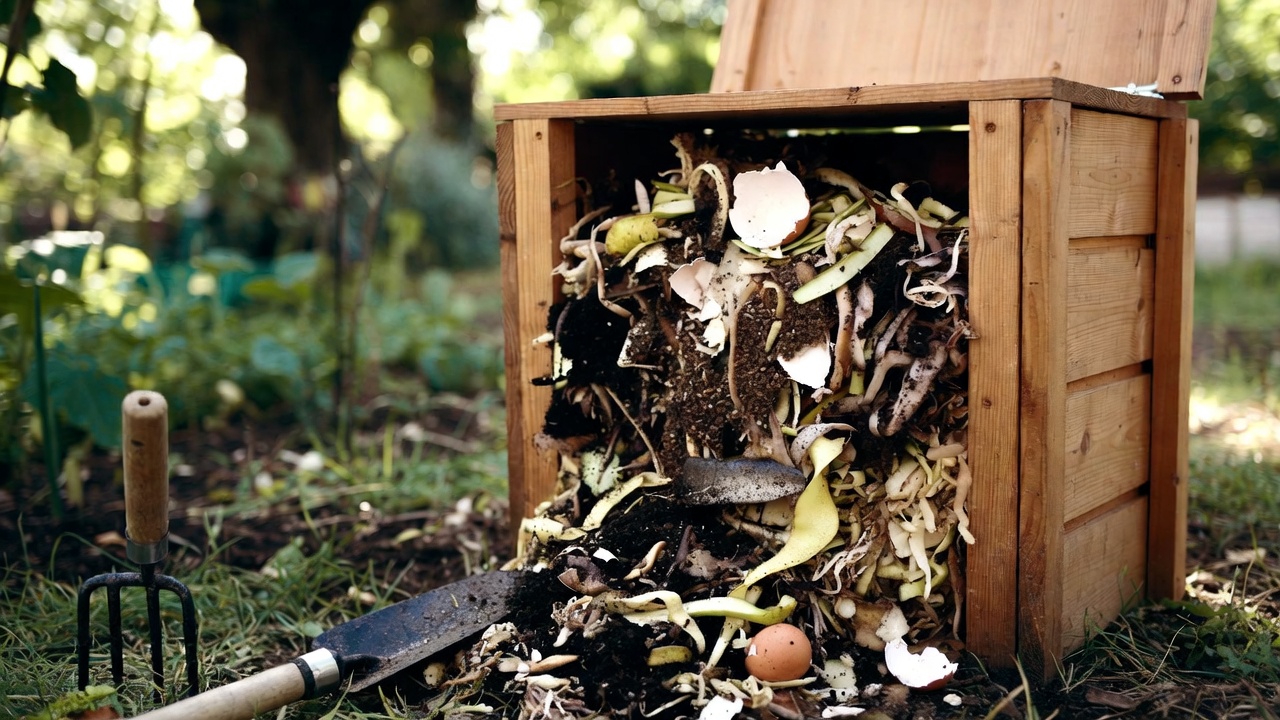
Kitchen Scraps to Black Gold: Composting Without the Smell
The secret to odor-free composting is the carbon-to-nitrogen ratio. Equal parts brown material and green scraps, turned weekly. Finished compost in eight weeks flat.
Build a Raised Bed in One Afternoon for Under $40
Cedar fence pickets, a drill, and forty minutes. A 4x8 raised bed that lasts five seasons. We have the cut list, assembly steps, and the best soil fill recipe.
When and How to Prune: A Visual Guide for Every Plant Type
Prune spring bloomers right after they flower. Prune summer bloomers in late winter. Fruit trees get dormant-season cuts. These three rules cover ninety percent of garden pruning.
Browse by Topic
Reader Comments
Grew cherry tomatoes in buckets last year after reading a similar tip. Got more fruit than my in-ground plants.
Spent years adding lime I didn't need. One soil test would have saved me a lot of trouble and money.
The brown-to-green ratio tip fixed my compost bin. No smell, breaks down fast now. Should have done this years ago.
Built two beds following these instructions. Total cost was under $80 for both. Cedar looks great too.
Finally a planting calendar that makes sense for zone 6. Bookmarked this one.